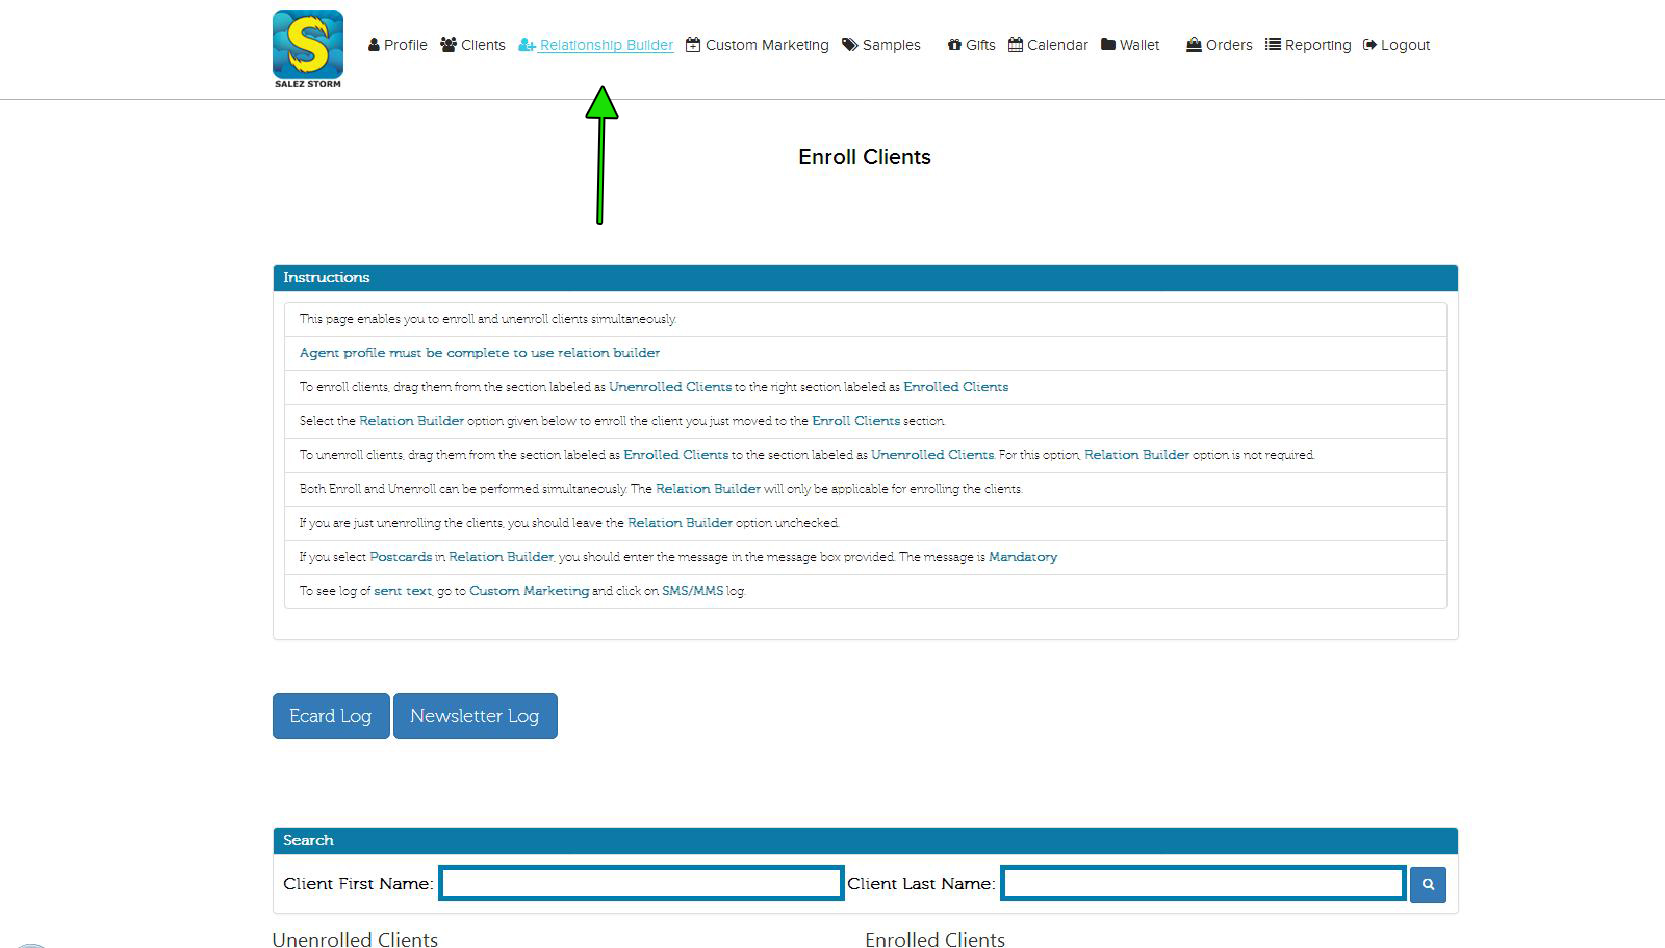
Navigate to the “Relationship Builder” Tab in the top navigation menu.
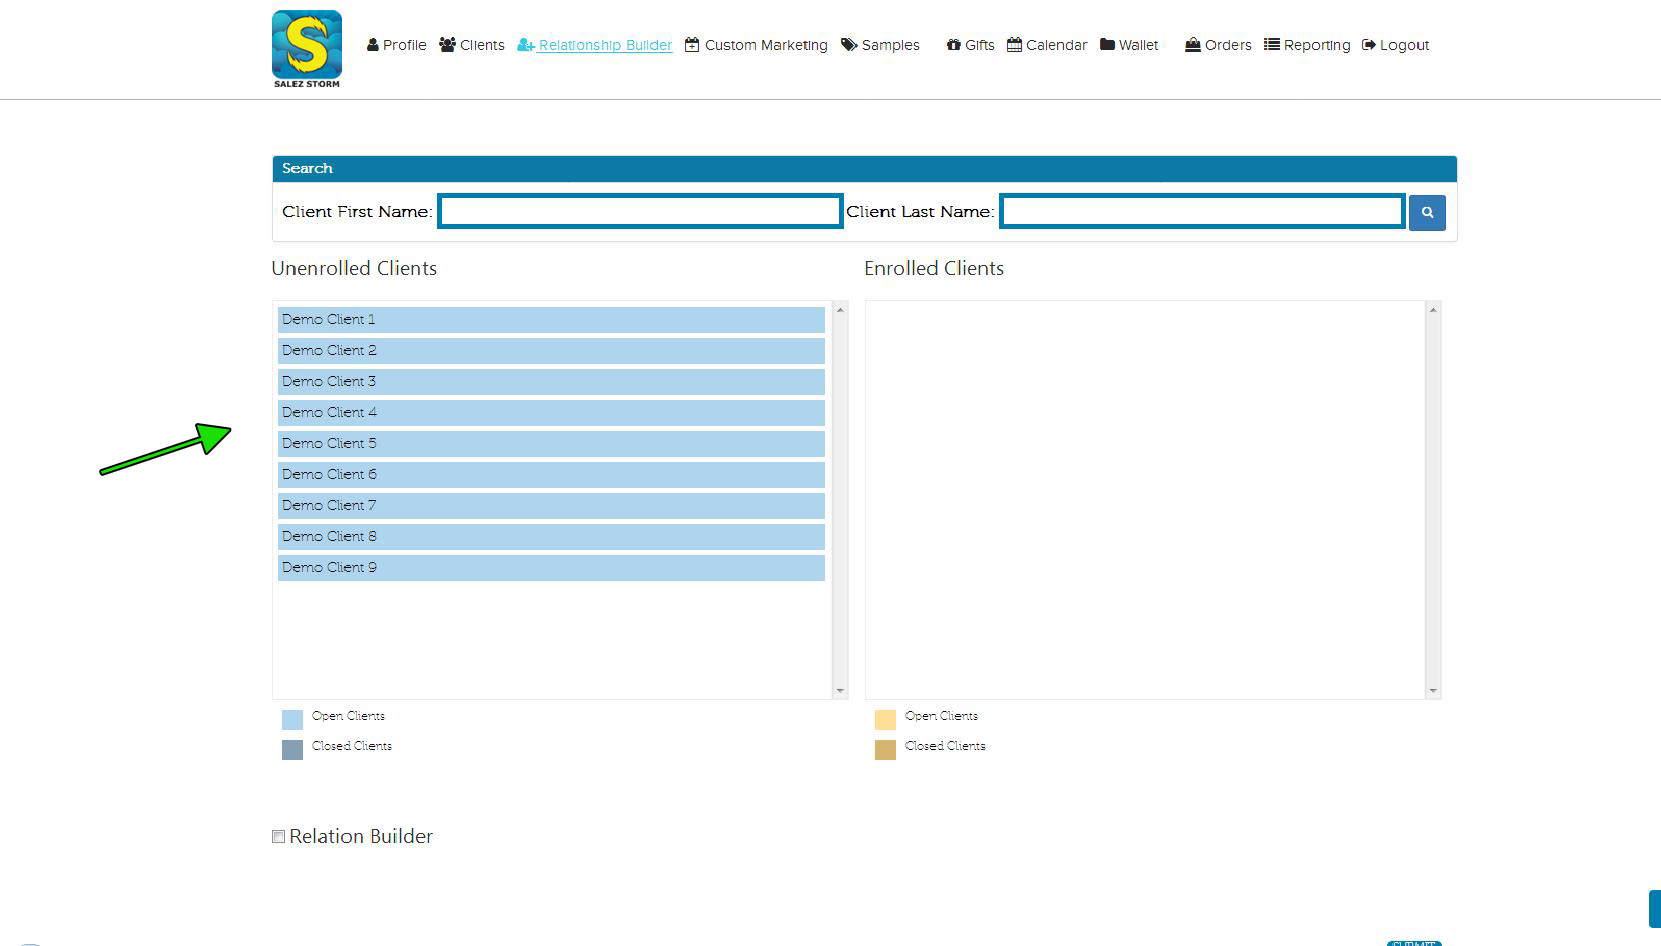
2) Locate Unenrolled Clients
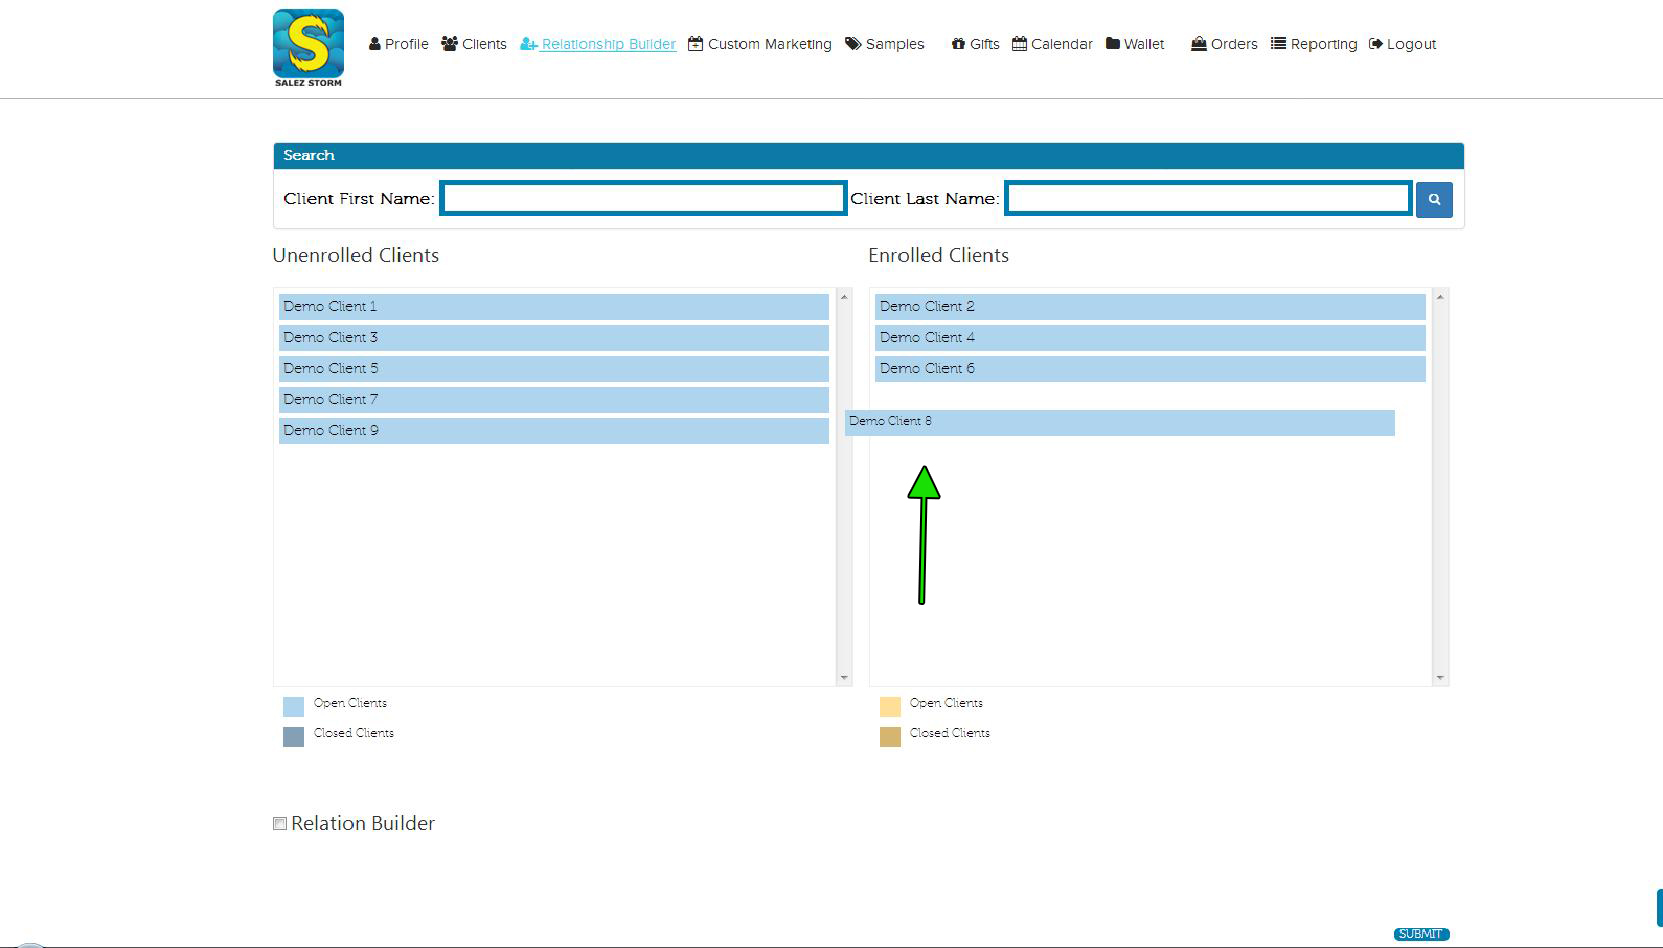
On the left hand side of the screen, you will see a list of “Unenrolled Clients”. Using this list, drag the clients to the right hand section titled “Enrolled Clients” and place them on this list. If you are unable to locate specific client, use the search function found directly above the list of “Unenrolled Clients”.
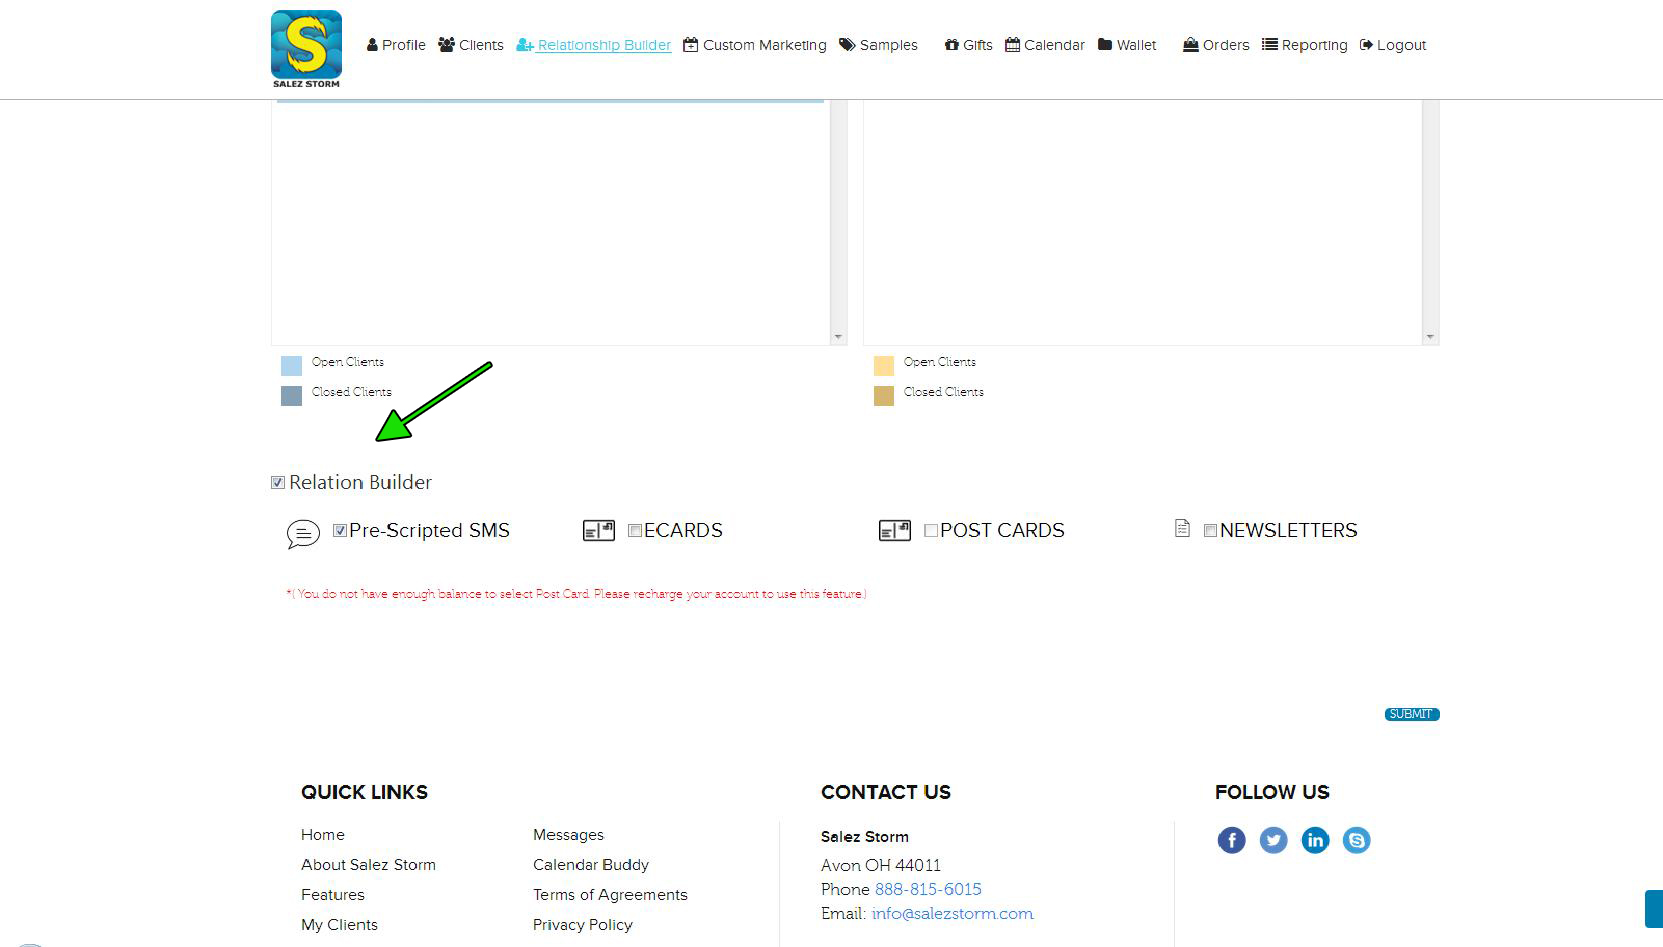
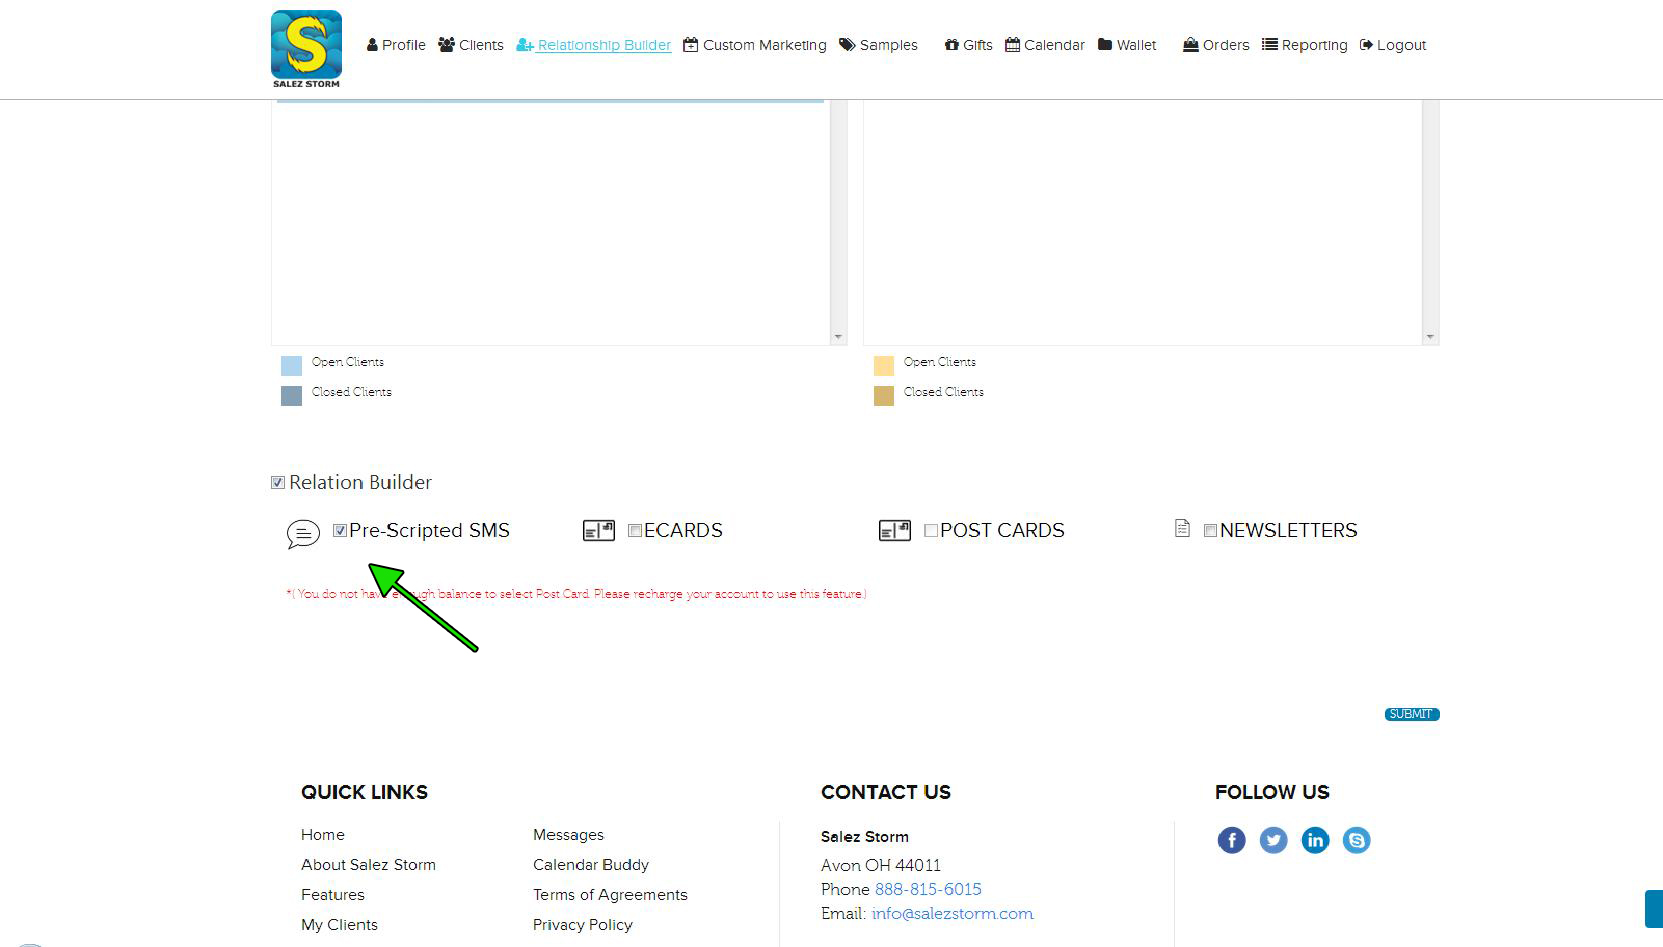
3) Check The Relation Builder Box
Once the clients that you are interested in enrolling have been moved to the right hand side of the screen, check the “Relation Builder” box at the bottom left. This will open up all available Relation Builders.
4) Choose Relation Builders
Select all Relation Builders that you would like to enroll the above list of clients into. Some Relation Builders may not be available to use if you have a basic or free account. These are only available with paid subscription plans that have enough credits available for use in the “Wallet”. Some of the Relation Builders also require you to select additional categorical type information. These option will appear when necessary. Choose the proper category for each relationship builder that you would like to assign.
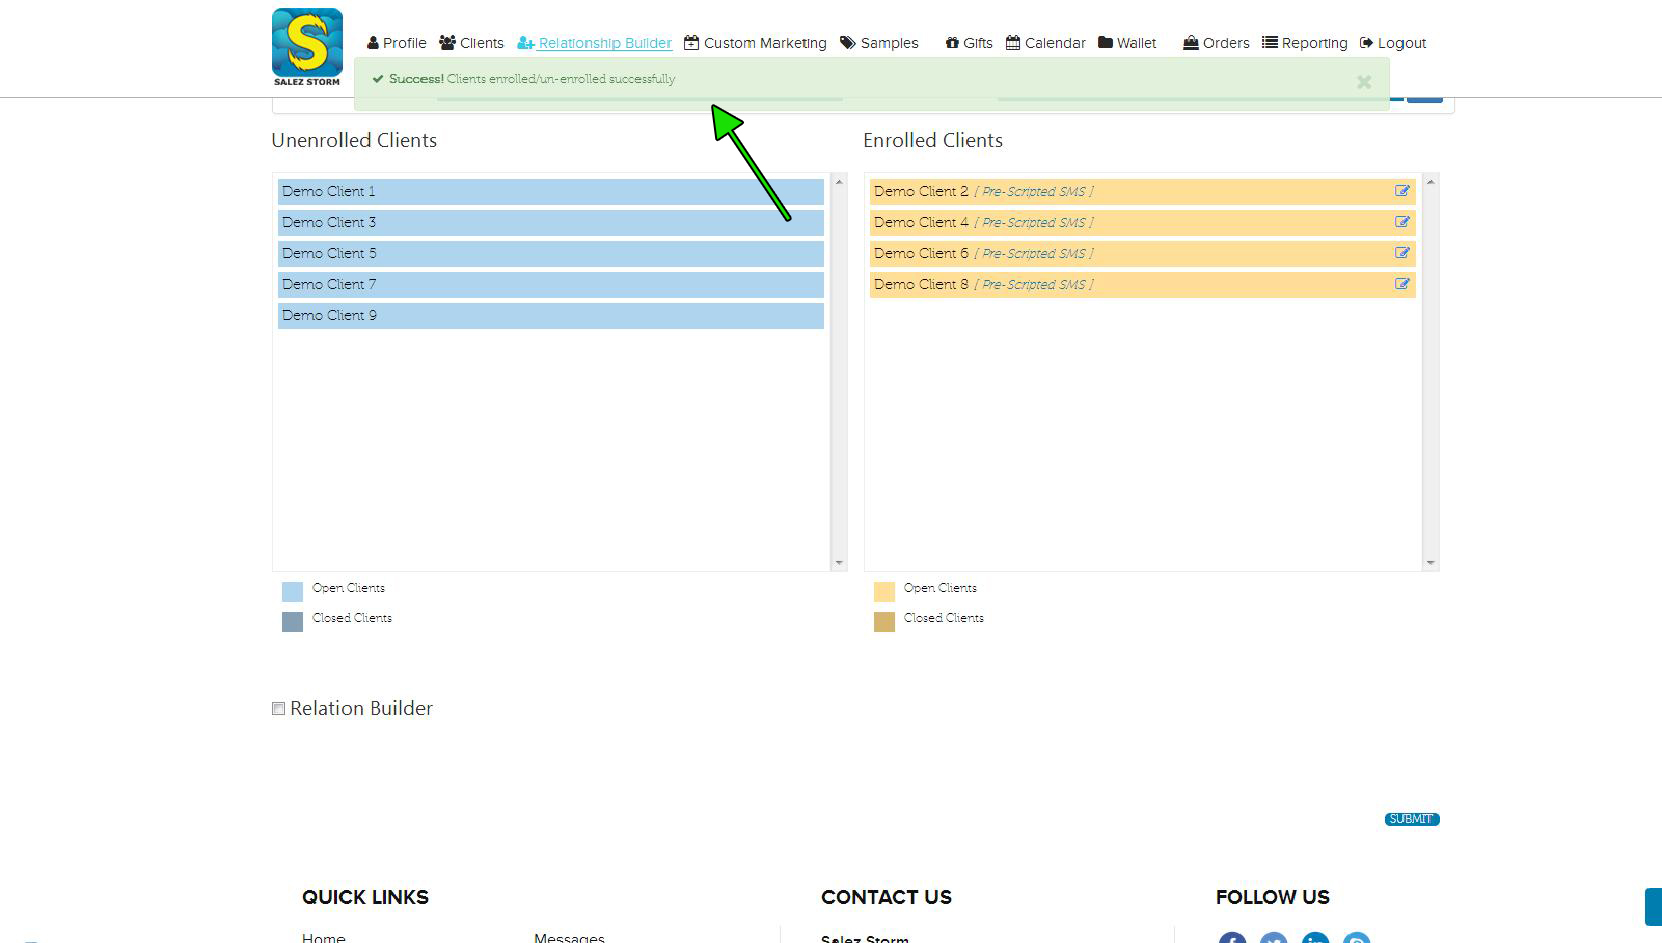
5) Click Submit & Check For Confirmation
After all clients that you are interested in enrolling have been moved to the “Enrolled List” and the appropriate Relation Builders have been chosen, click the “submit” button. You will see a success notification if all clients have been properly enrolled. If an error has occurred, the success notification will be replaced with a warning. If a success notification has been received, you are all set and no further action is needed.
6) Reverse the Process to Unenroll
This process can also be reversed to remove Relation Builders simply move dragging the appropriate clients to the left side of the list titled “Unenrolled Clients” and clicking the submit button.