With Salez Storm, you have the ability to manually add individual contact information, or perform a bulk upload of several contact’s info all at one. We will look at how to do the manual add in this first lesson. So let’s get started.
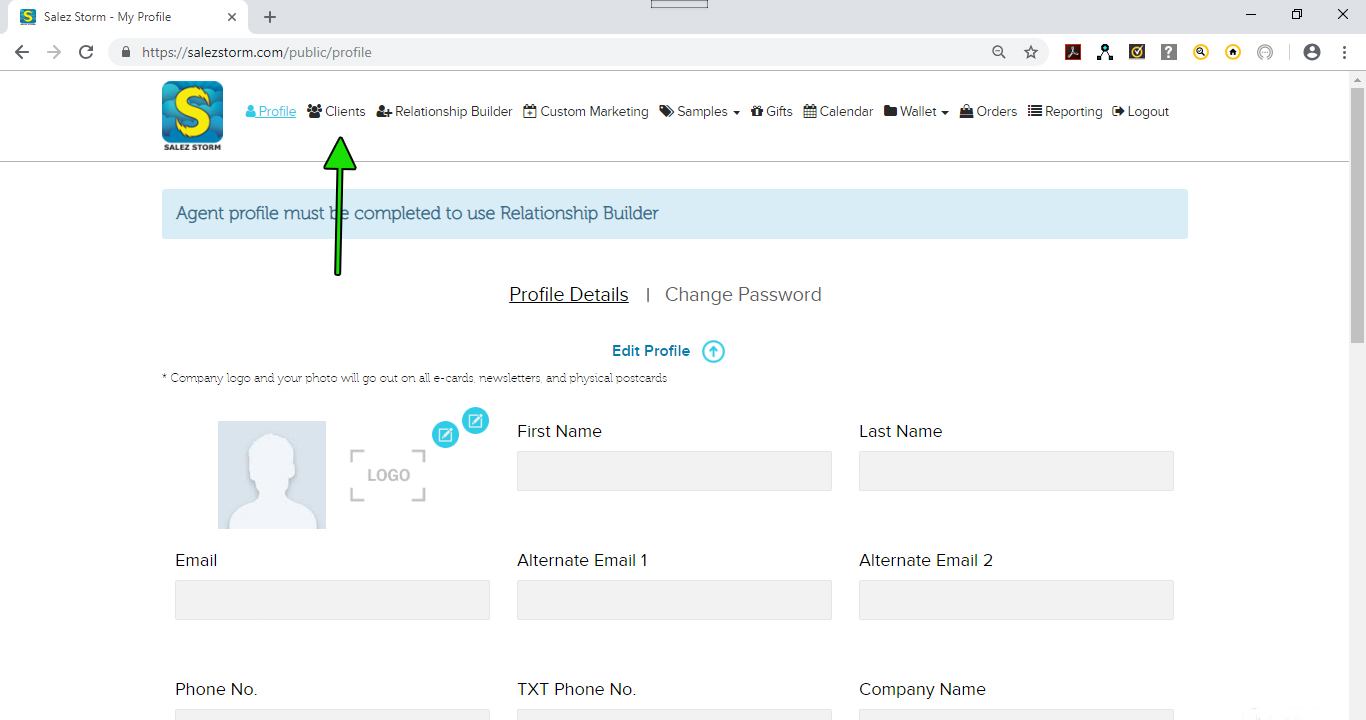
1) Navigate to Clients
After logging in to your account, navigate to the “Clients” link found in the main navigation menu of the site’s header area. When you have clicked this link, you should see an area that displays your “Active Client List” with total number of clients next to it. Since your are brand new, this number will most likely be 0. As you add clients to your list, this number will increase. The more clients that are in your system, the more contacts Salez Storm can make to your database and potentially bring in more business.
You will also notice that on this page that any clients that have been added to your system will be displayed below. This gives you quick and easy access to contact info like email and phone numbers should it be needed. We will go into how to search for and edit these clients in a future installment of this tutorial.
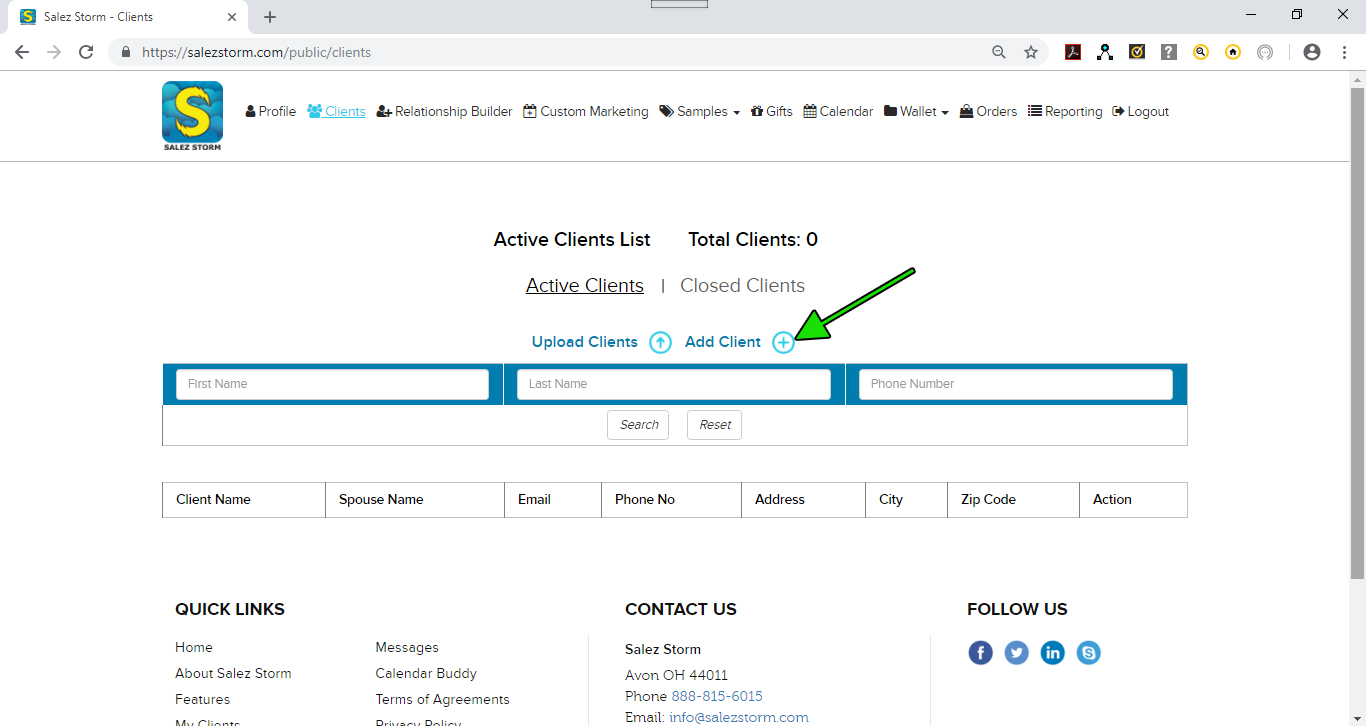
2) Add Client
Locate the “Add Client” link and click it. This will take you to a new screen that will allow you to manually add any pertinent information that you have about your client. It is important to remember to add in as much info that is available and to add it in accurately. Salez Storm will be using this info when sending messages and notifications to clients and 3rd party vendors associated with the programs. Accurate and properly formatted information will ensure proper delivery and happy clients.
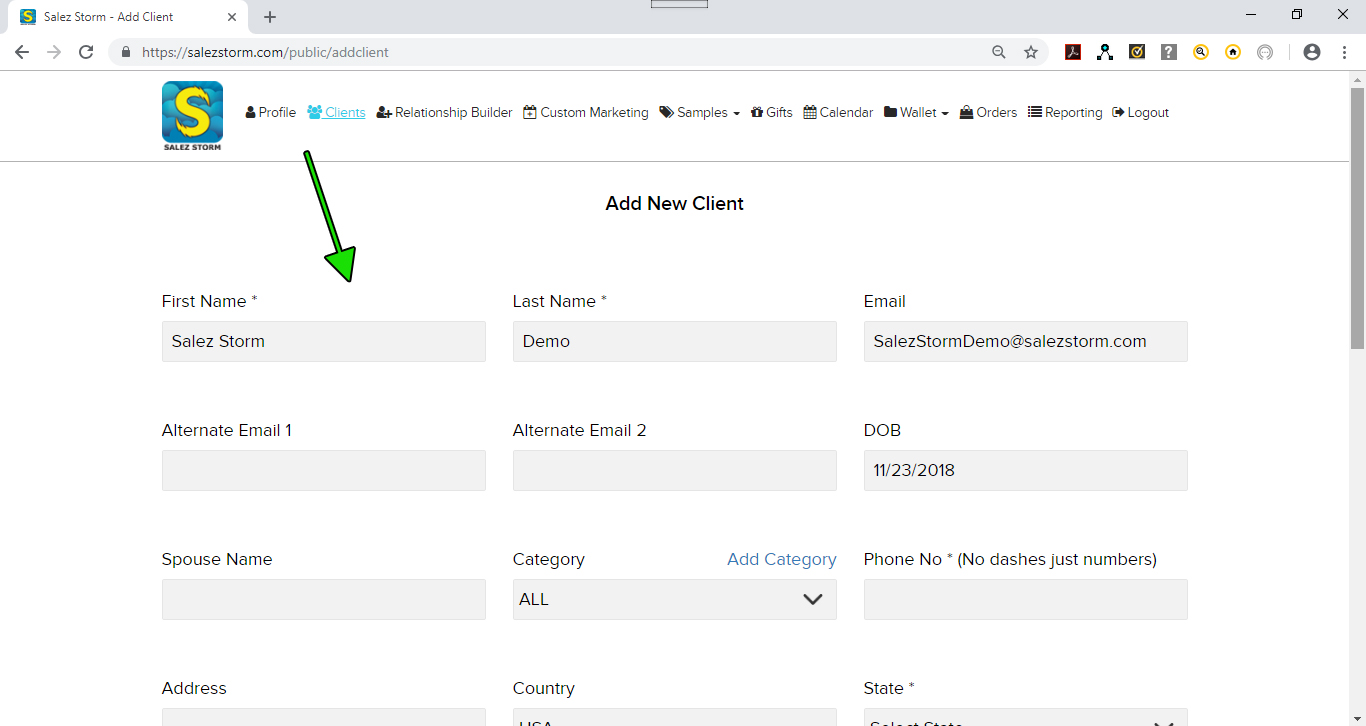
3) Complete the Fields
Complete the fields with requested information. Start by adding in the First name, Last Name, Email, and Phone Number of your client. There are sections to add alternate emails for client should they have more than 1. If only one email exist, add it to the “email” field and not to the “alternate email” fields. After completing these items, you can add Date of Birth (DOB) and the Spouse’s Name if this info is available.
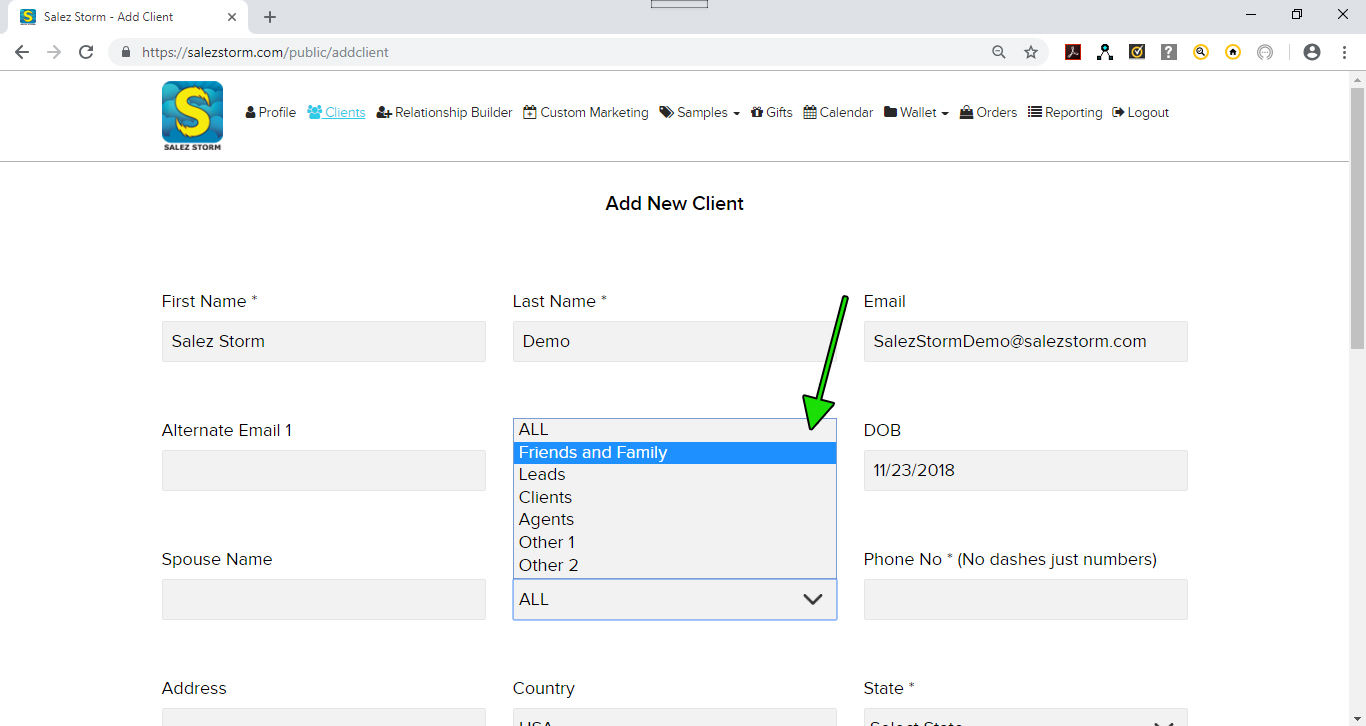
4) Assign A Category
If you would like to assign this contact to a Category for sorting purposes later on, be sure to select the specific category that you would like to use. We have already added a few basic categories for you like “Friends and Family”, “Leads”, and “Agents”. However, we know that these aren’t the only categories you may need or want so we have added the ability for you to add your own category. To do this, simply click the “Add Category” link and then type in the new category you would like to use when prompted. Be sure to click “Add” after entering the new category to allow the system to save it.
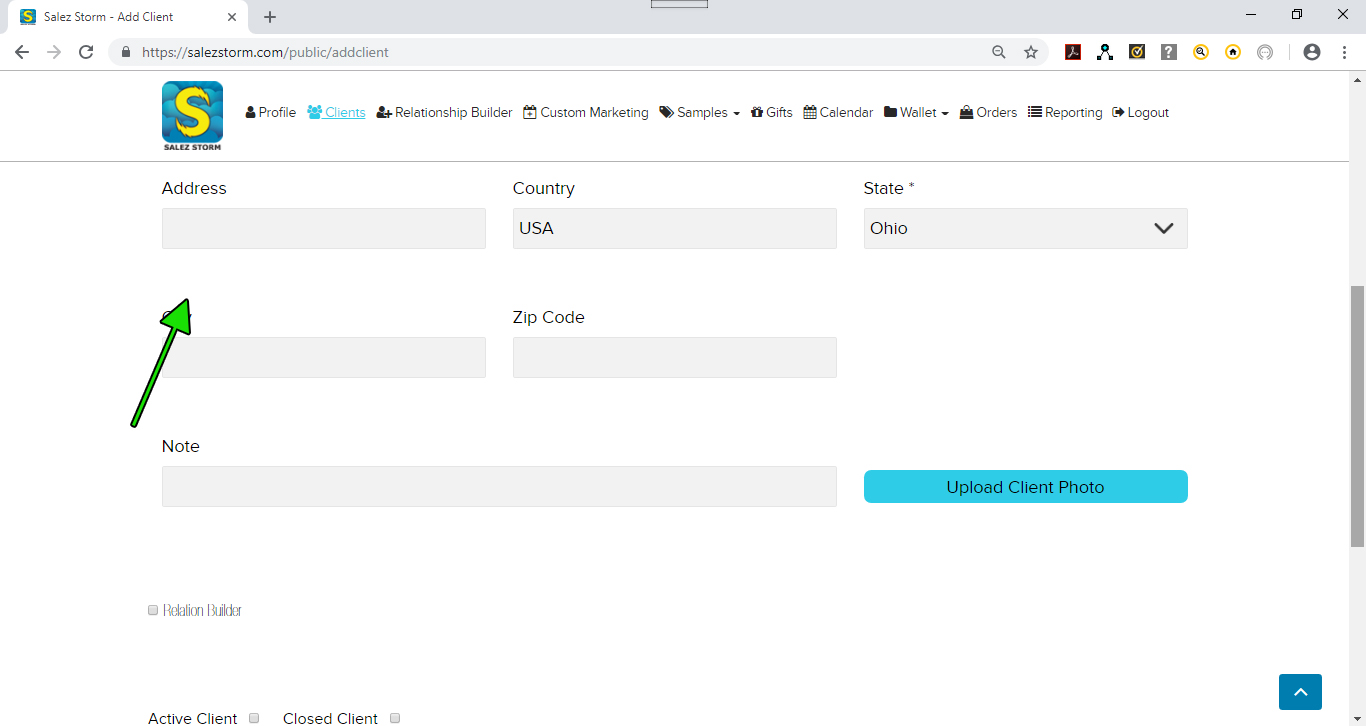
5) Add Client Address
Next add the clients Address information if available. Be sure to add in the city, state, and zip as well.
6) Add Any Notes
If you have any special notes that you would like to remember about this client, add it in the “note” section.
7) Upload Client Photo
Use the “Upload Client Photo” button to upload a photo from your hard drive. After locating the image from your local drive, select it and upload to Salez Storm.
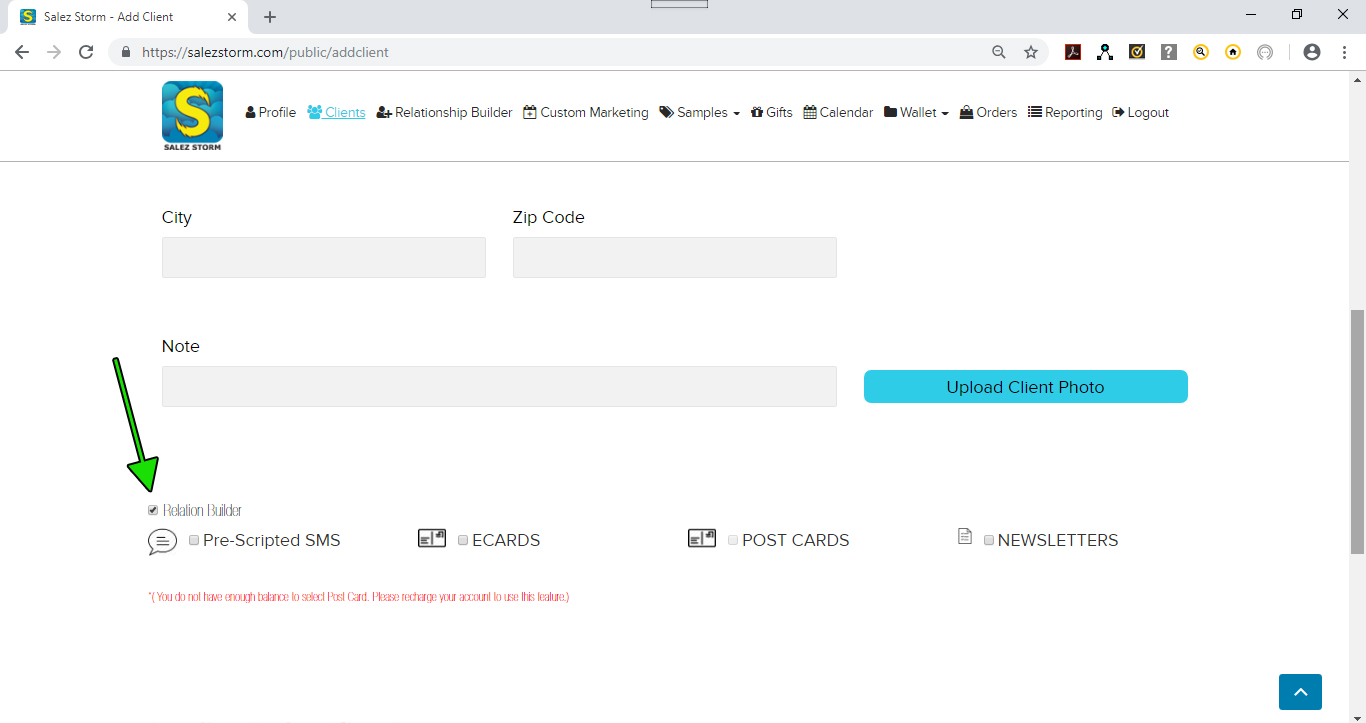
8) Set Up Relation Builders
Towards the bottom of the “Add Client” page, you will see a small box to check that says “Relation Builder” next to it. Selecting this or “ticking” the box will open additional boxes that read “Pre-Scripted SMS”, “Ecards”, “Post Cards”, and “Newsletters”. It is here that you will select which form or forms of communication that you would like Salez Storm to automatically make on your behalf for this client. You can select as many of the options as you like, however it is important to know that “Post Cards” require you to have added money to your “Wallet” area in order for the “Post Cards” to be sent. We will look at this in a future email. SMS, ECards, and Newsletters come with your subscription and can be selected without needing to add additional funds to your account.
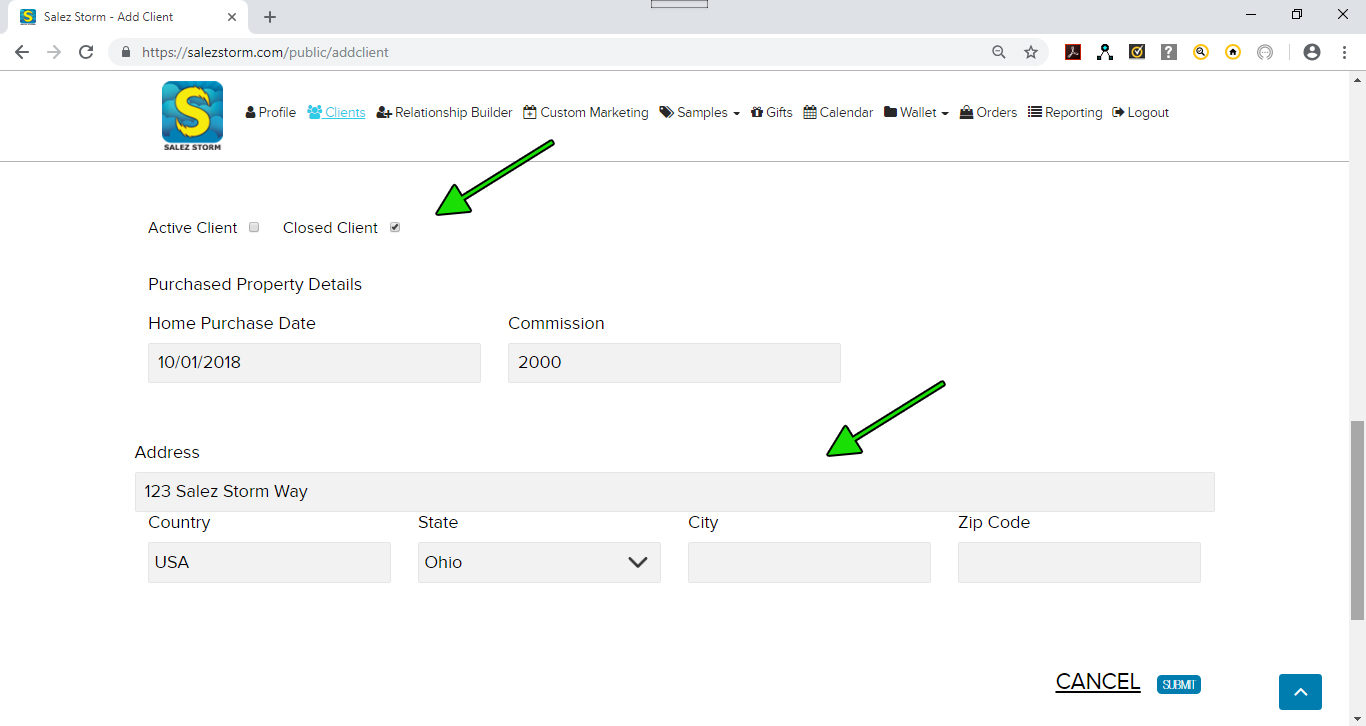
9) Active or Closed
At the very bottom, please select whether this is an “Active Client” that you are currently working with or a “Closed Client” that you have already done business with. Since Salez Storm is geared towards Real Estate deals, Salez Storm can track your past deal information for each client as well. When you select “Closed Client”, additional fields and options will appear to allow you to add this info. You can add the date of the home or property sale, the commission that you earned or bonus you were paid, and the physical address of the location or property that was sold.
10) Save the Client
After adding all the pertinent info, click the Submit button. This will save the record in Salez Storm which you will now see on the “Clients” page.