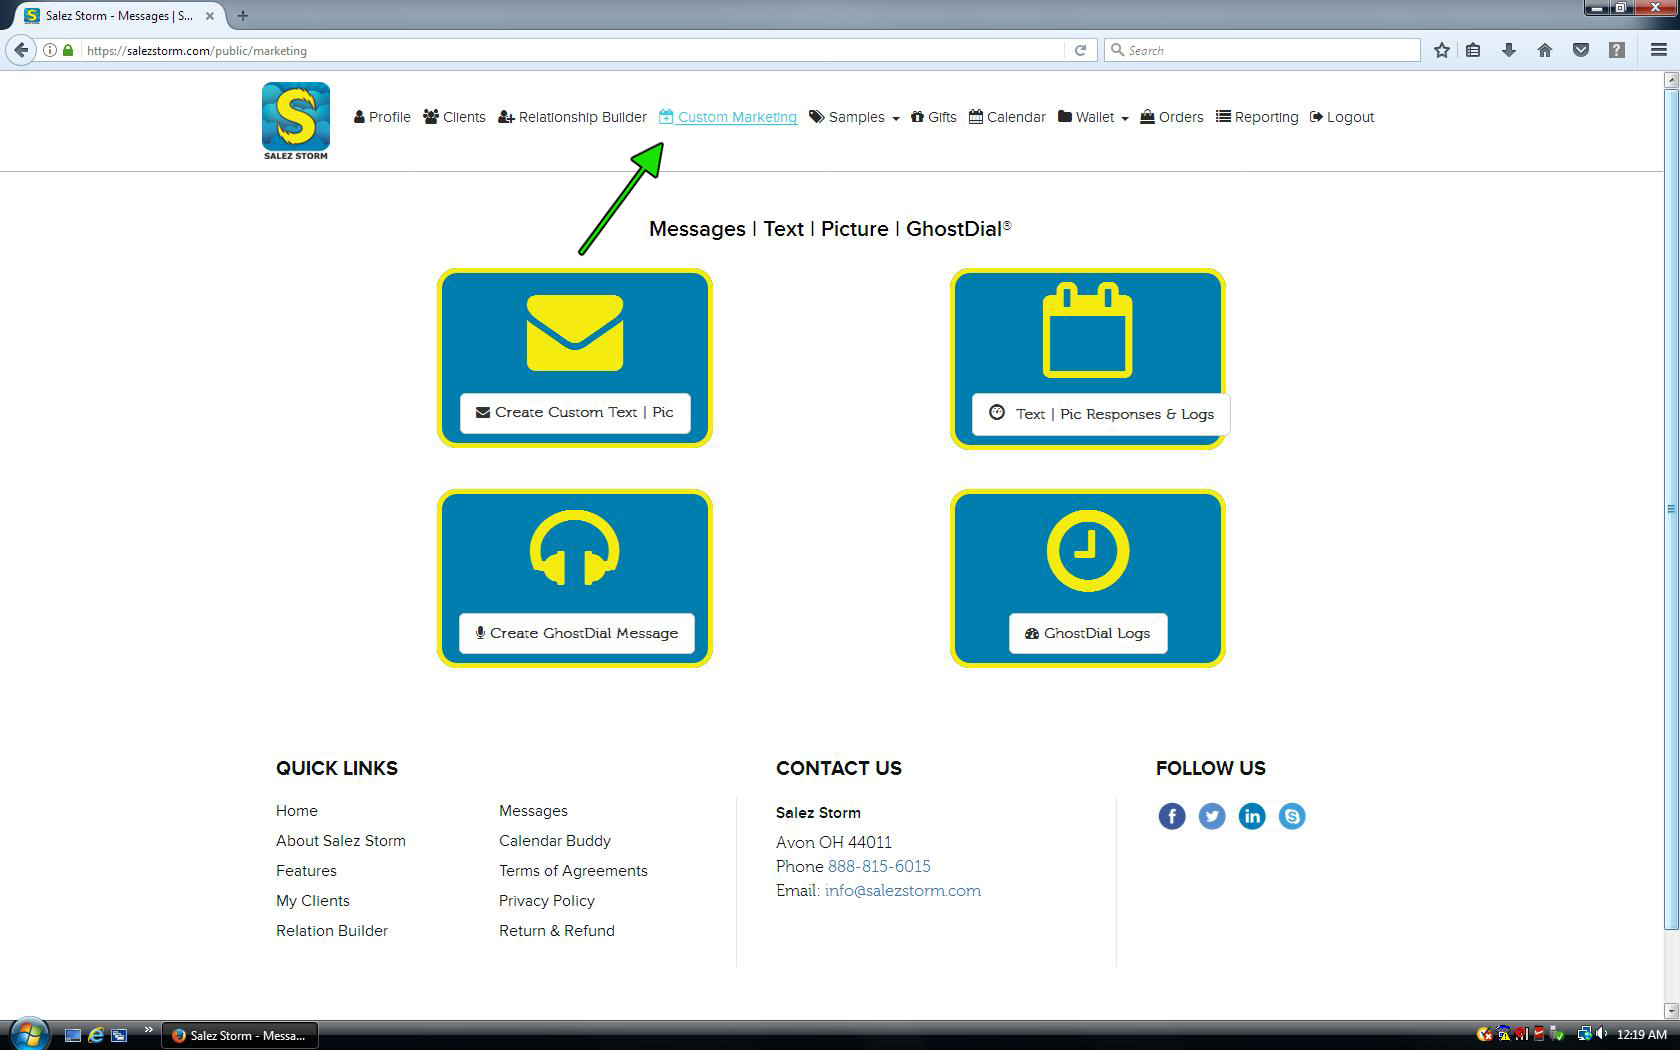
Locate and click the “Custom Marketing” tab in the main navigation menu at the top of the screen.
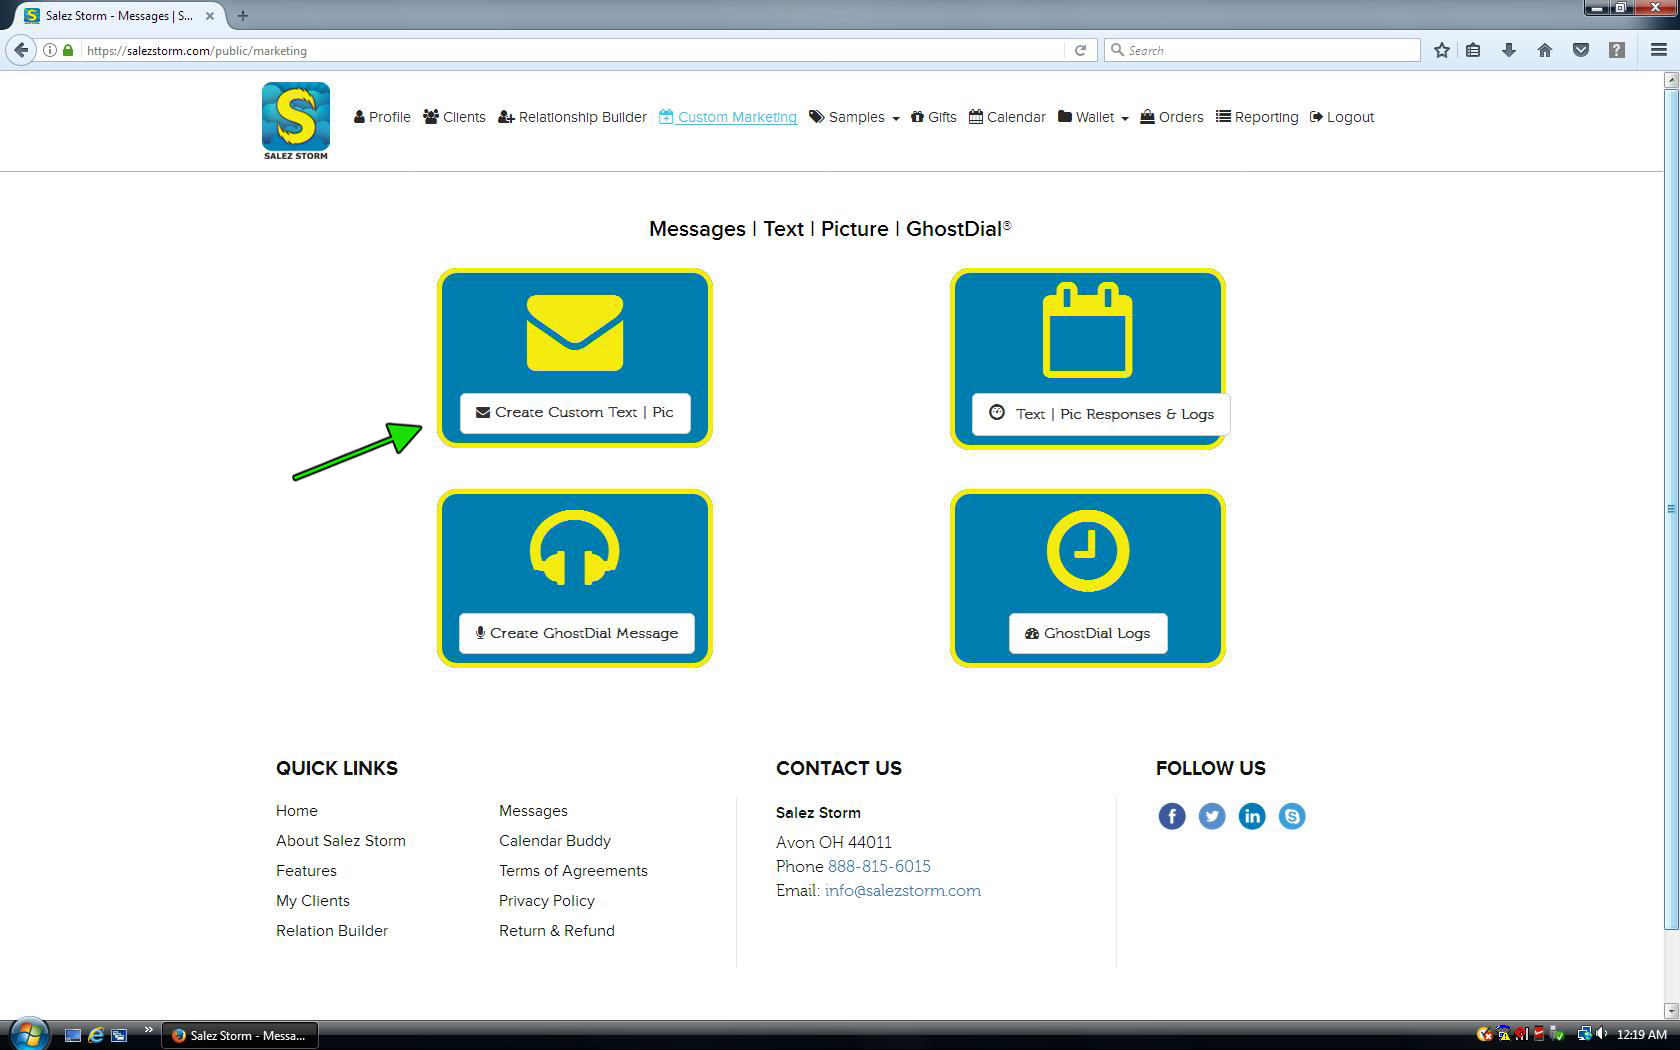
2) Click "Create Custom Text | Pic
On the Custom Marketing page you will 4 boxes. Select the box that reads “Create Custom Text | Pic”.
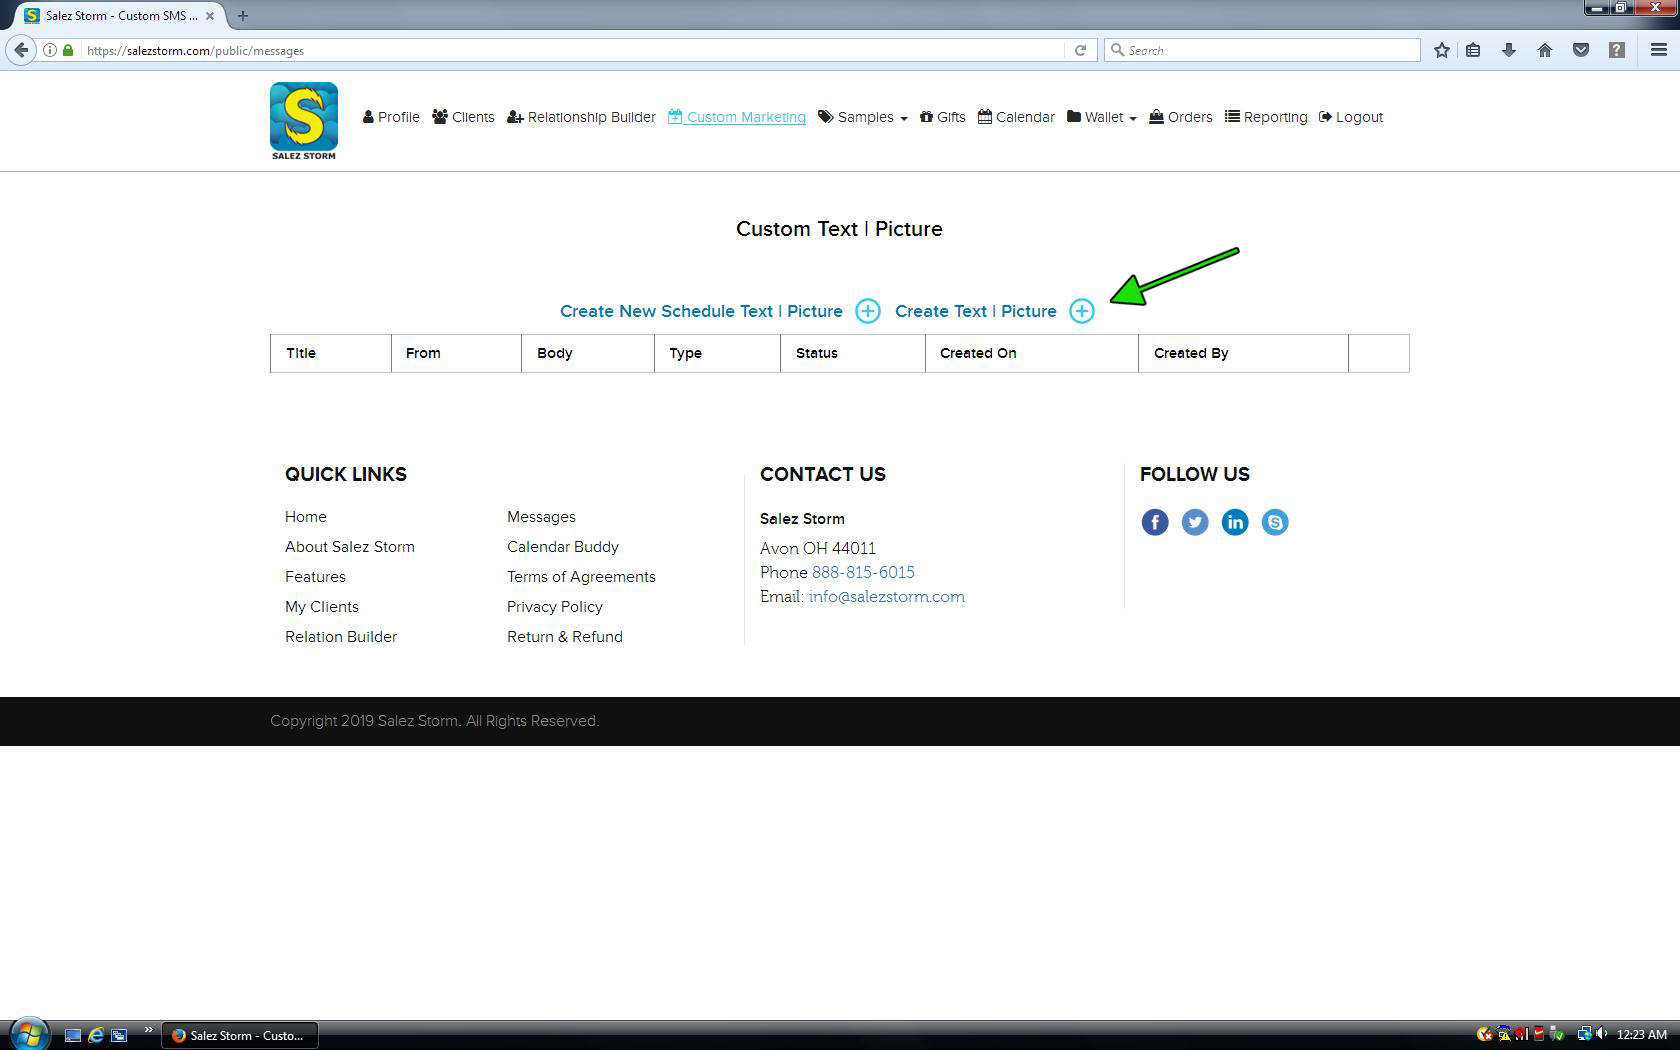
3) Select Create Text | Picture
On this page, you will find a list of all your previously created Custom Text Messages. Since we do not currently have any already created, we will need to create our first one. Select the link found on the right hand side that reads “Create Text | Picture”.
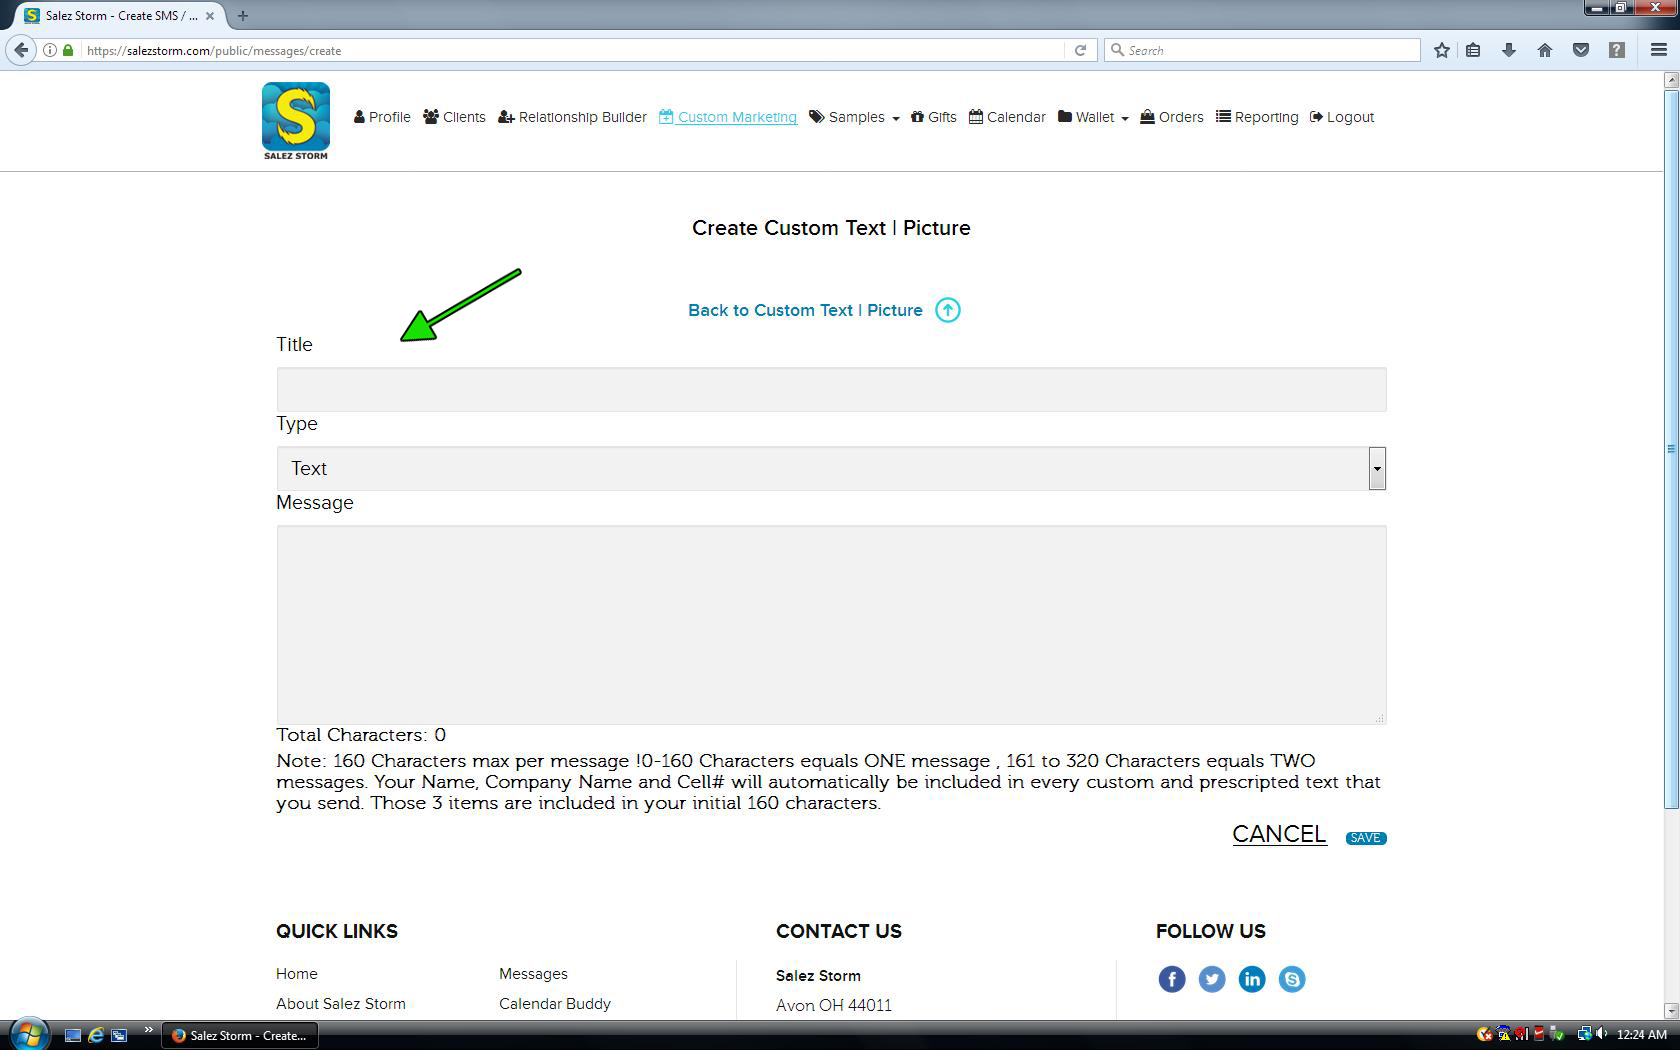
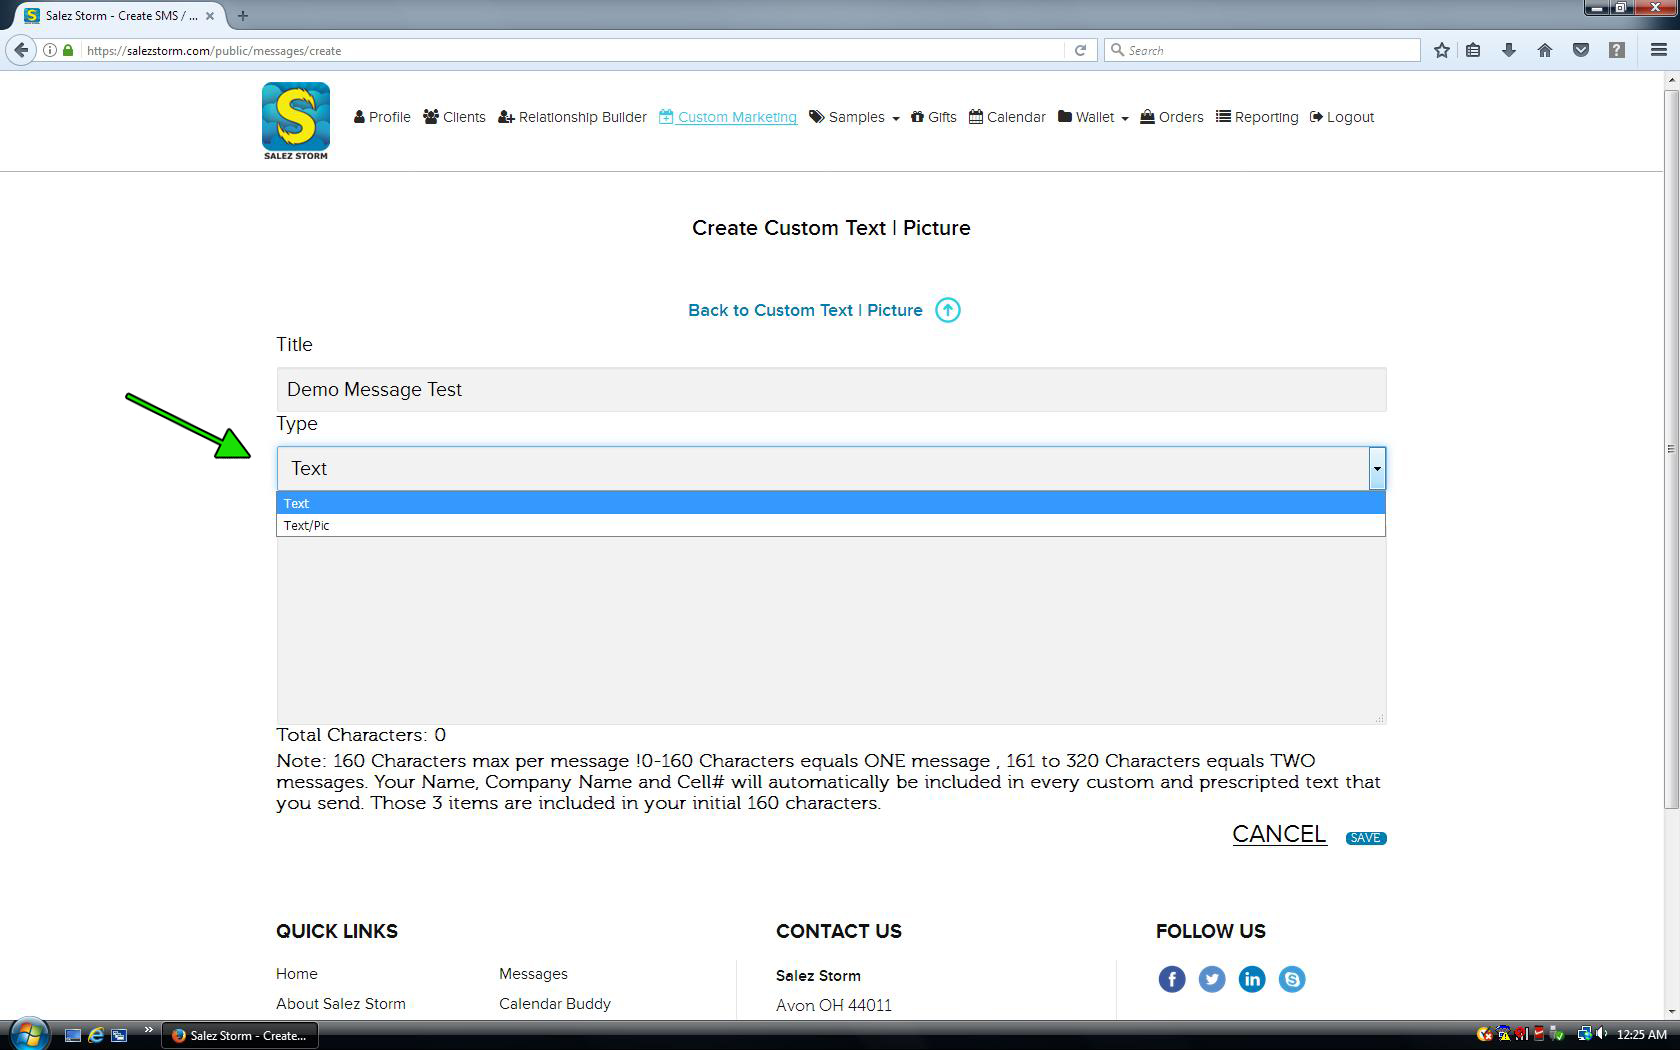
4) Create a Title
Give your custom message a title. This will help you locate the message in future steps.
5) Select either the Text or Text/Pic options.
Choose whether you want to send a text message or a picture message.
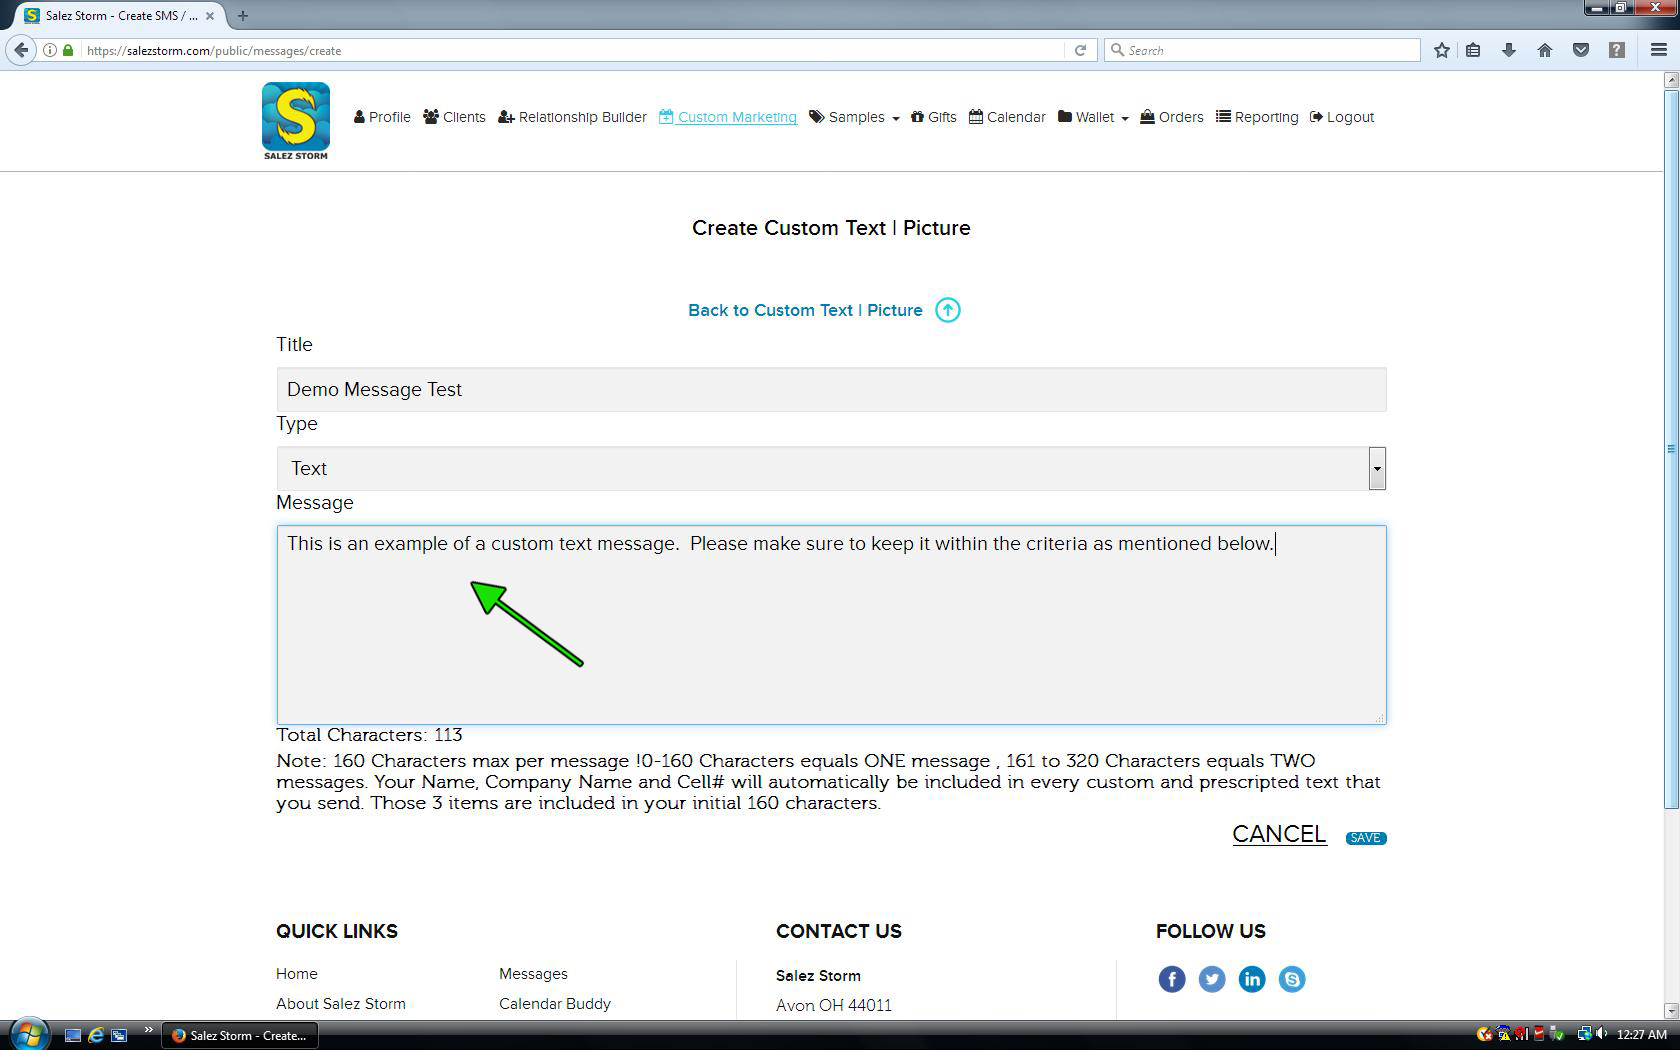
6) Type Your Message.
Write the message that will be sent in your text message. Make sure to keep your text under the appropriate amount of allowable characters. We have listed what can and cannot be sent directly under the message box.
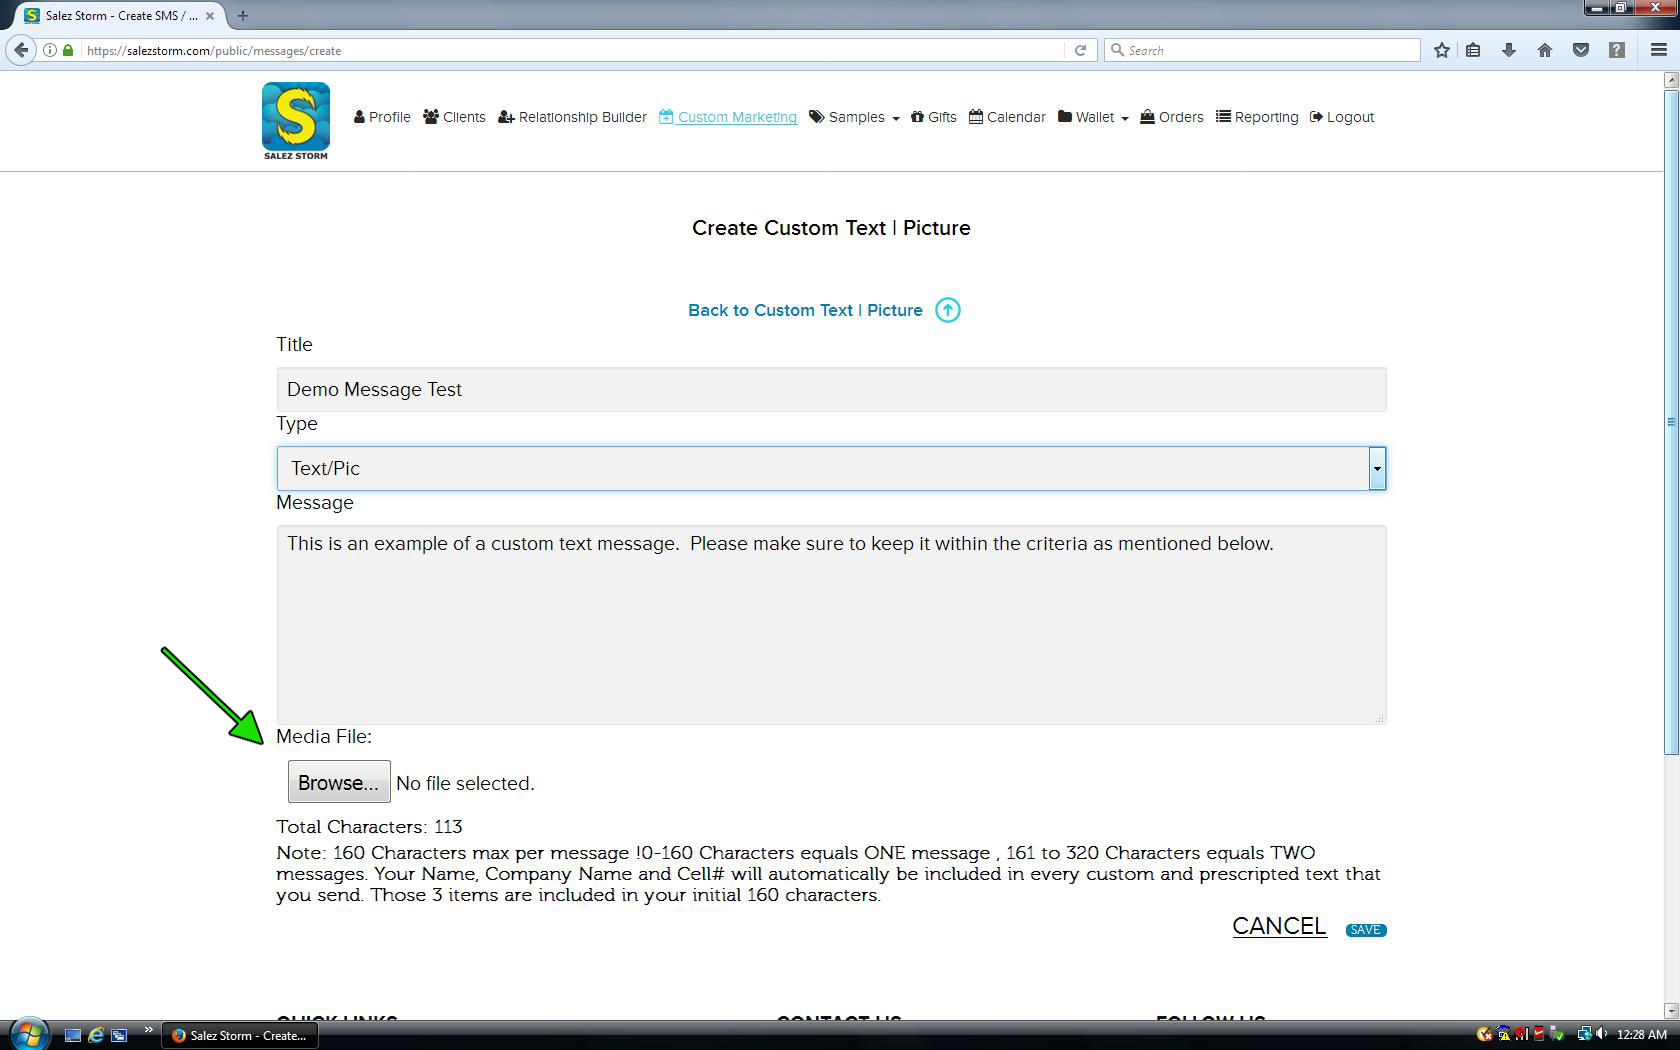
7) Upload Pic.
If you selected to send a picture message, a file upload button will appear. Use this to select an image from your computer. Remember, this will only show if you had selected to send this type of message.
8) Click Save
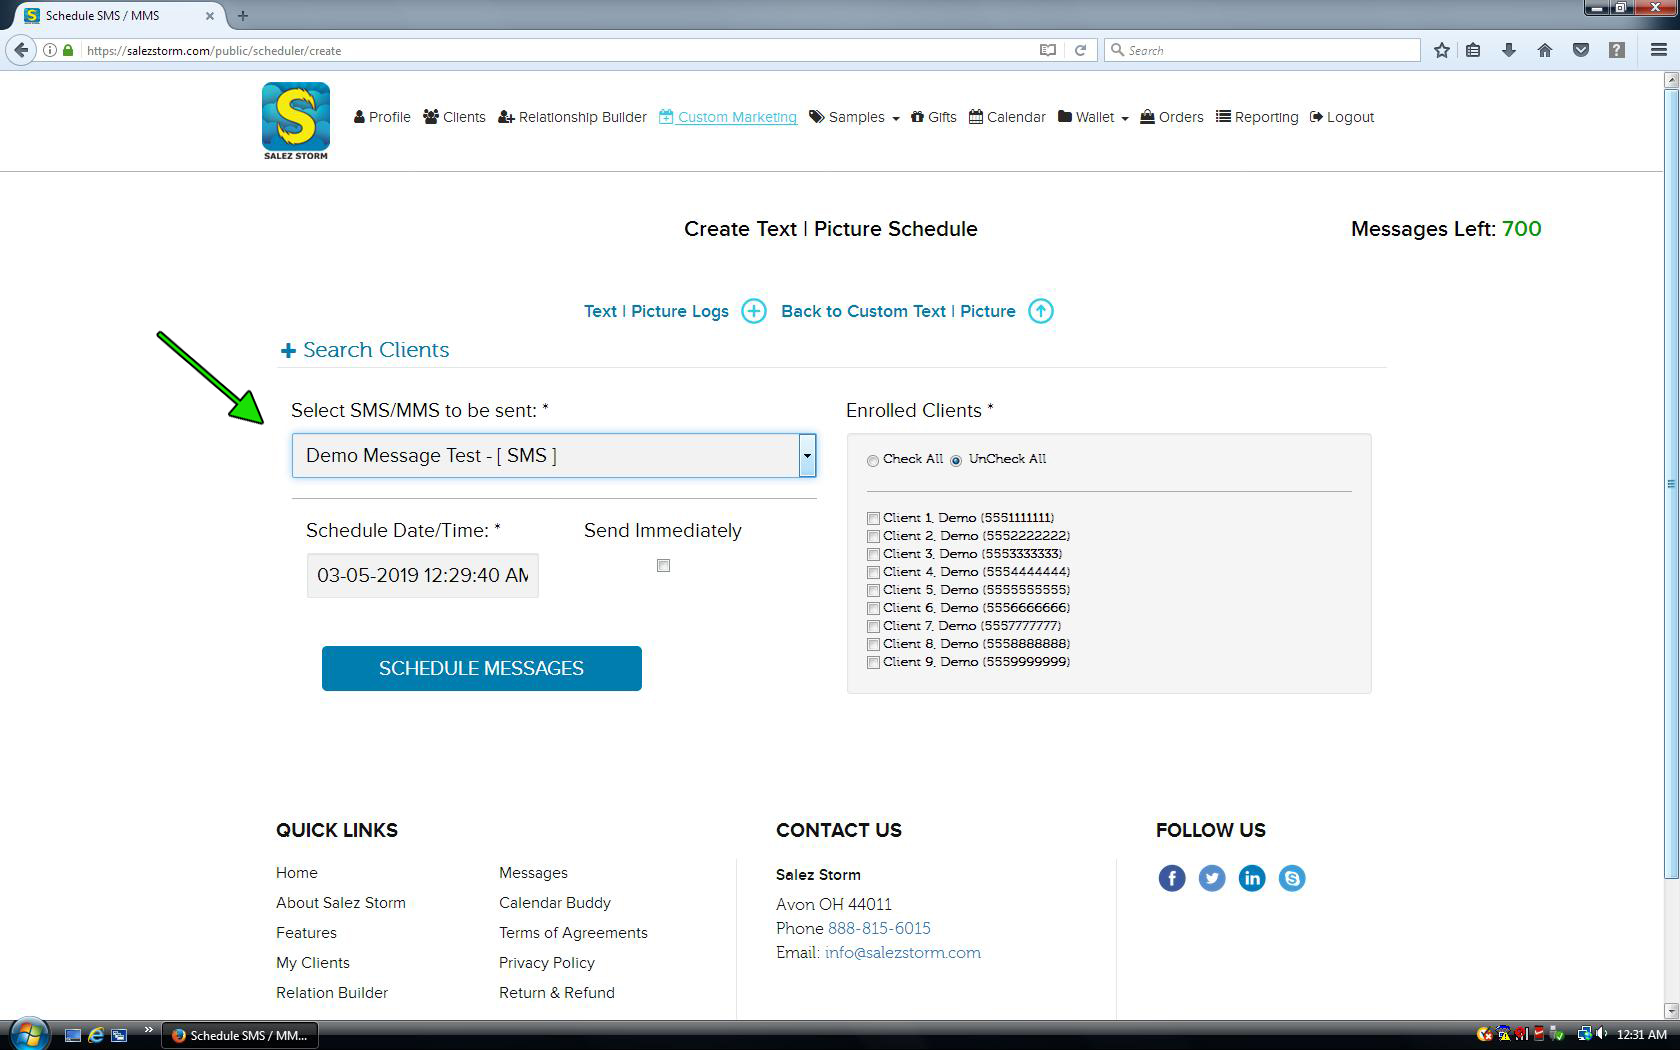
9) Select your SMS/MMS Message
On the next page, choose the message that you would like send. If you have multiple messages created, they will all show in the field.
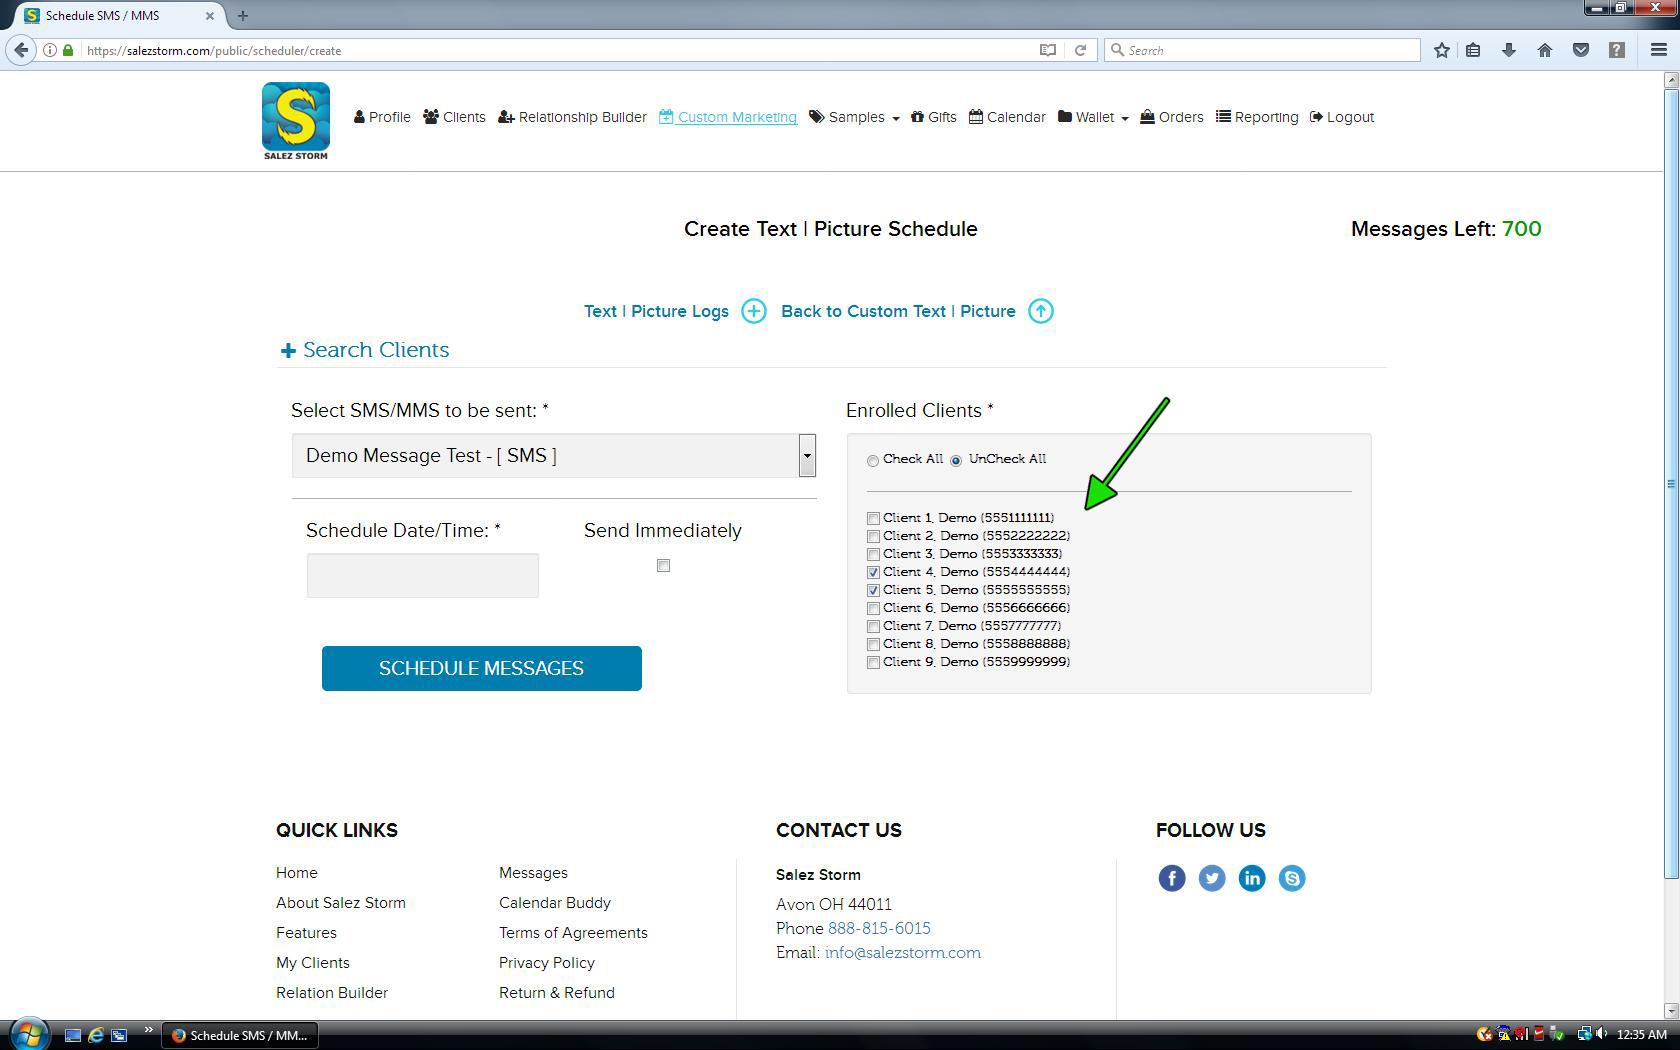
10) Select the Clients to Send it To
On the right side of the screen, select the clients that you would like to have the message sent to. Your clients will need to have already been enrolled in the Relation Builder service (See Tutorial 2). Multiple clients can be selected here. An advance search option is available of the “select SMS/MMS to be sent” field should you need to narrow down the amount of clients in your list.
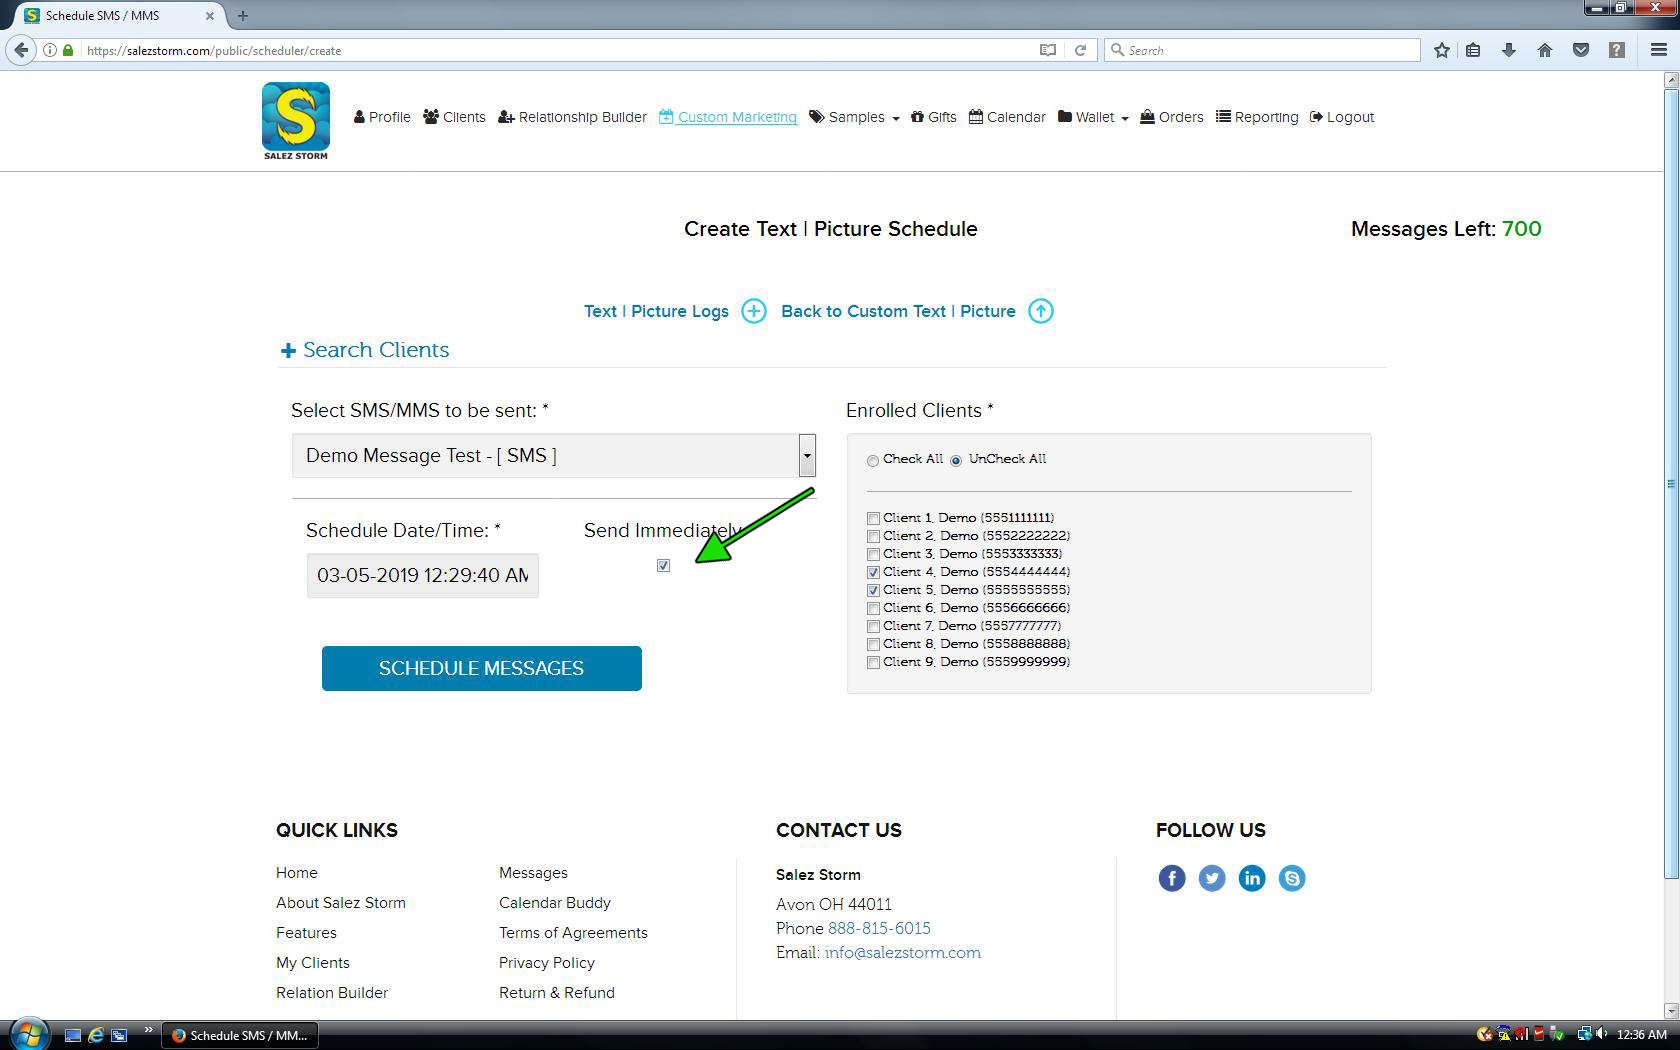
11) Choose When To Send
Choose when you want to sent your message. If you want to send it immediately, check the the “Send Immediately” box. If you would like to schedule it out for a further time, do so using the “Schedule Date/Time” selector to the left.
12) Click Schedule Messages
That’s all! Your message has now been sent, or has been scheduled to be sent at a later time.