Tutorial 4 – Scheduling an Already Created Message
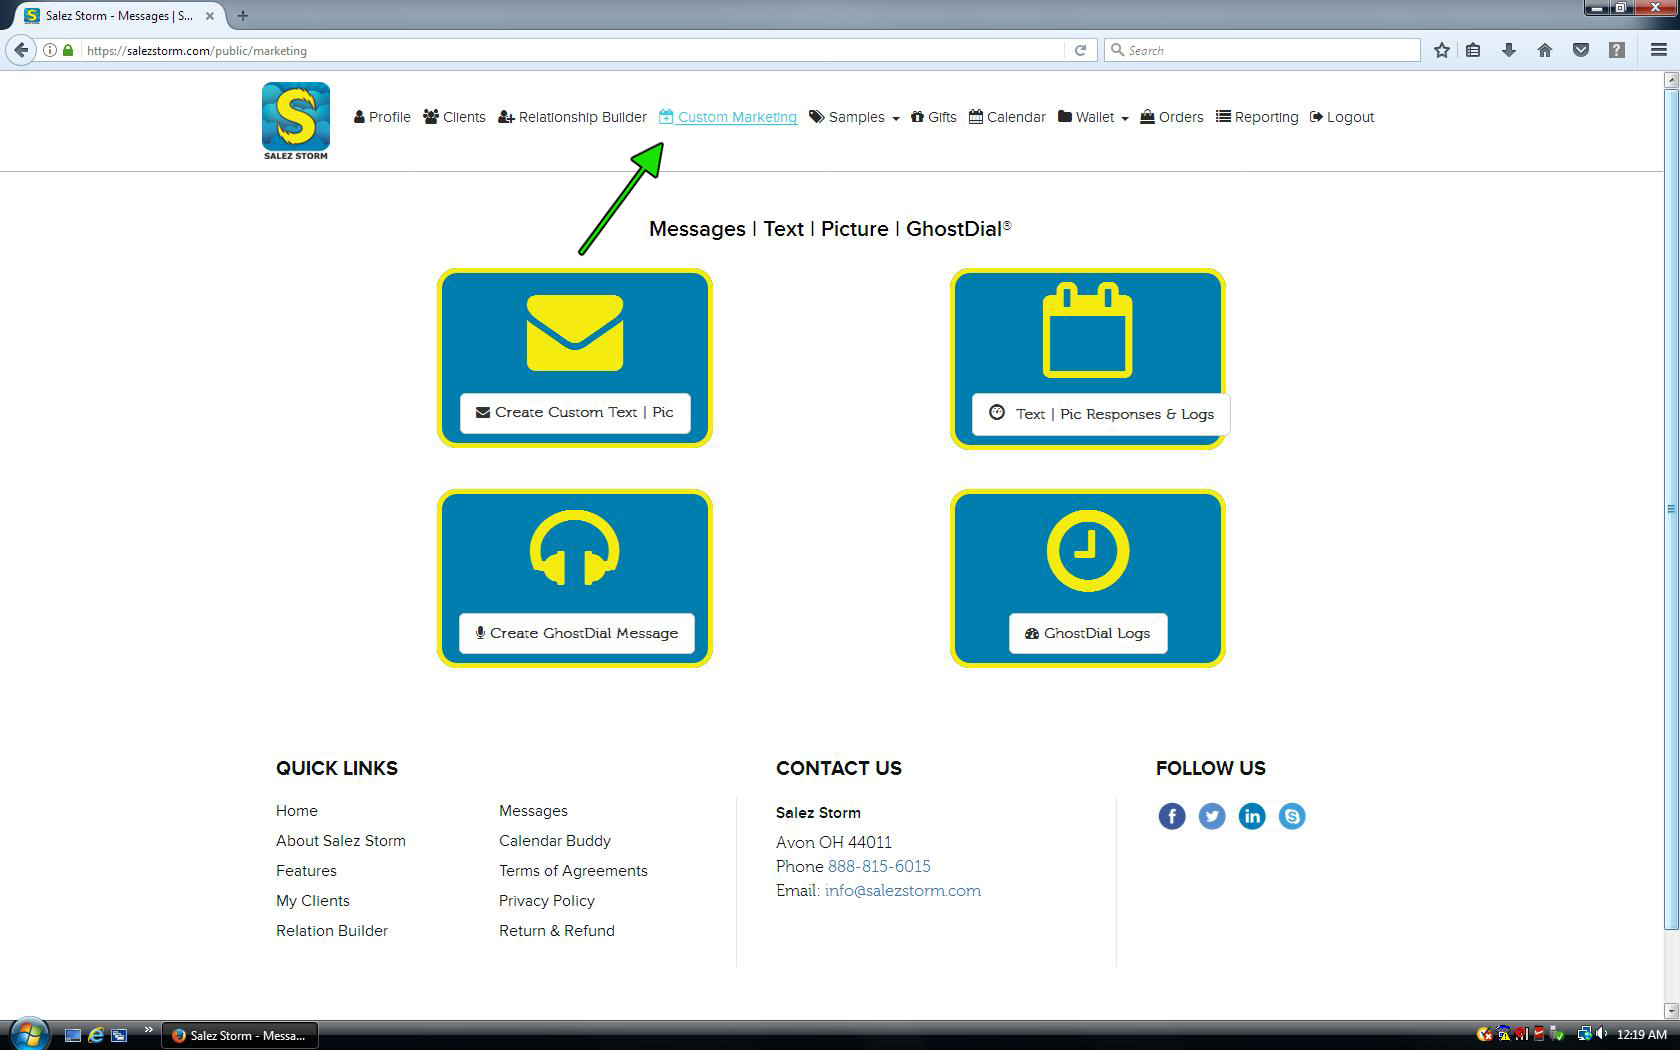
1) Navigate to Custom Marketing
Locate and click the “Custom Marketing” tab in the main navigation menu at the top of the screen.
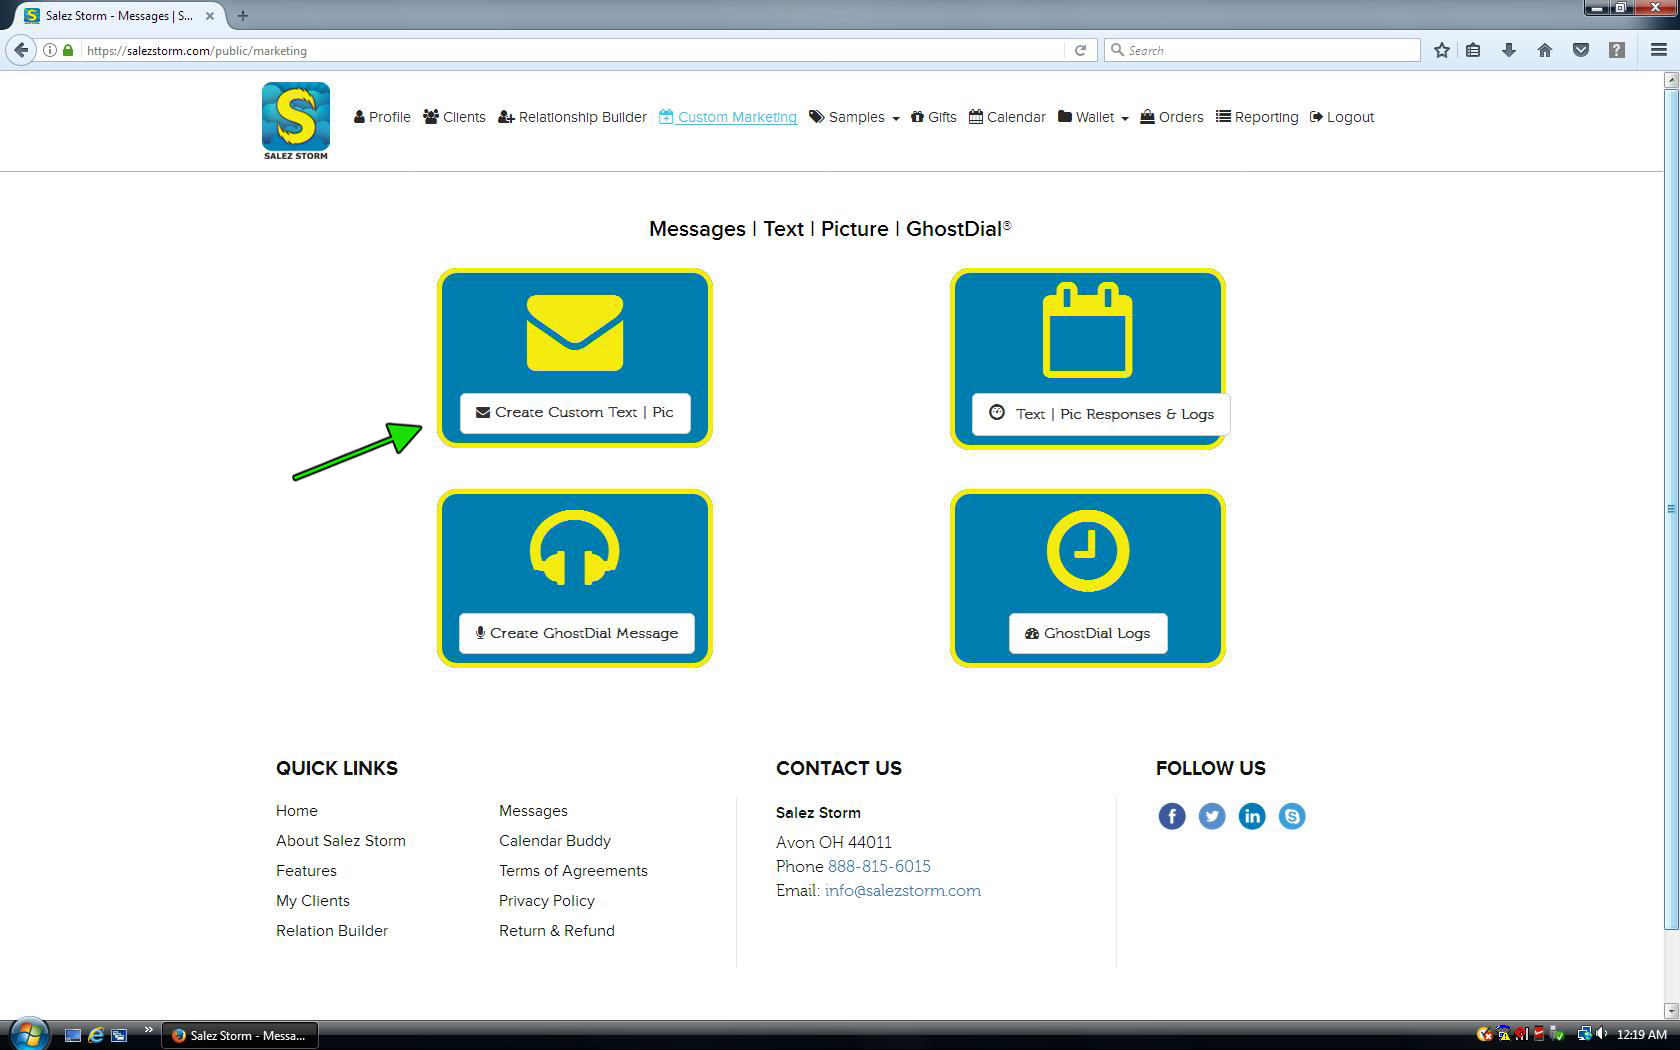
2) Click "Create Custom Text | Pic
On the Custom Marketing page you will 4 boxes. Select the box that reads “Create Custom Text | Pic”.
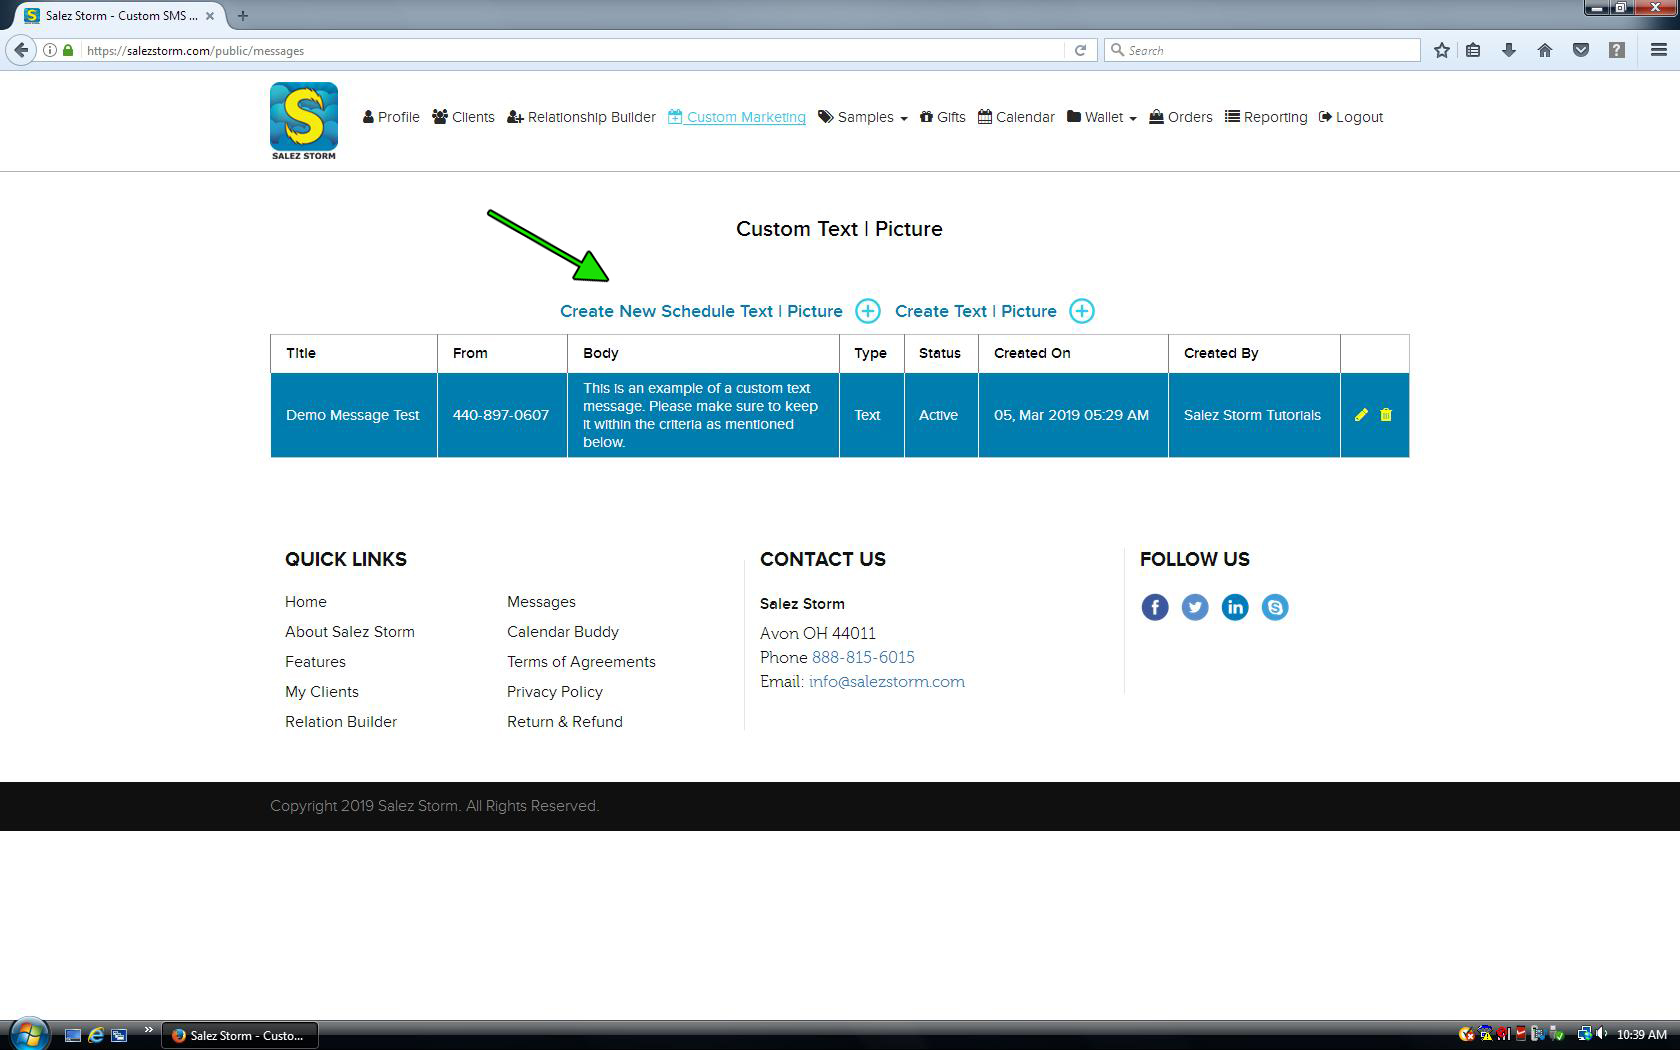
3) Click Create New Schedule Text | Picture link
On this page, you will see a list of your previous created text and picture messages. To send or to schedule one of these messages to be sent out, click on the “Create New Schedule Text | Picture” Link.
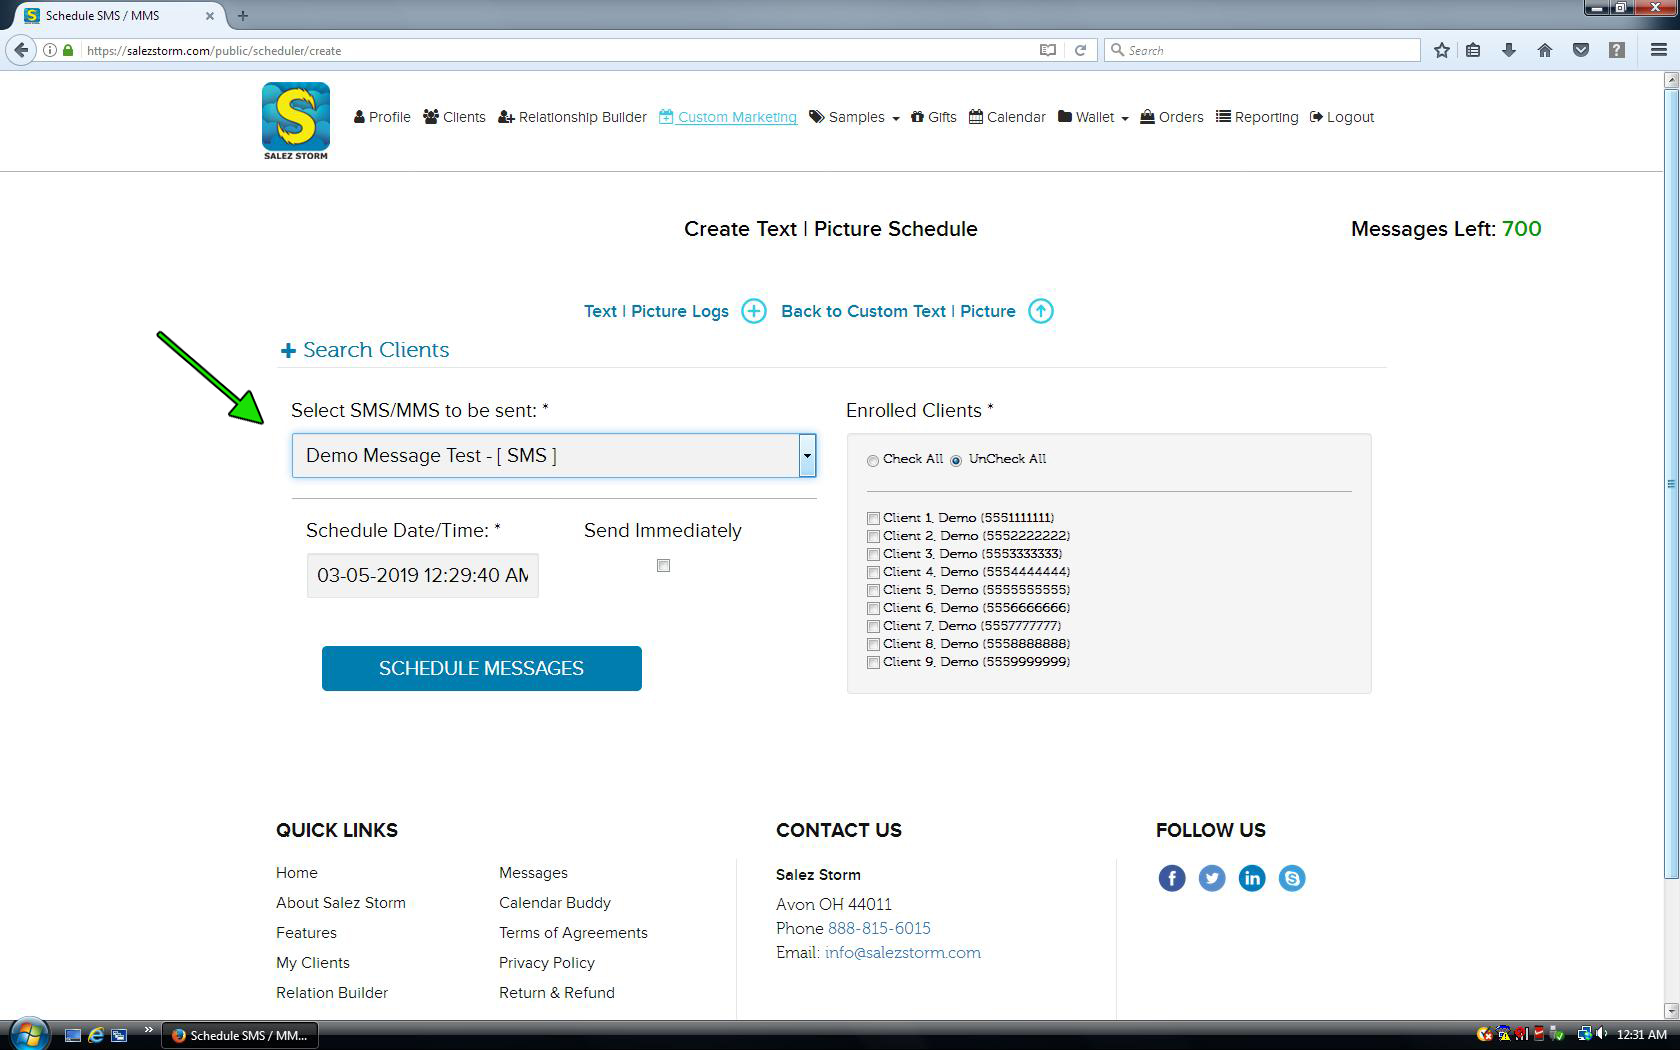
4) Select your SMS/MMS Message
The remaining steps for sending or scheduling are the exact same as those found on Tutorial 3. In the “SMS/MMS to be sent” field, choose the message that you would like send. If you have multiple messages created, they will all show in the field.
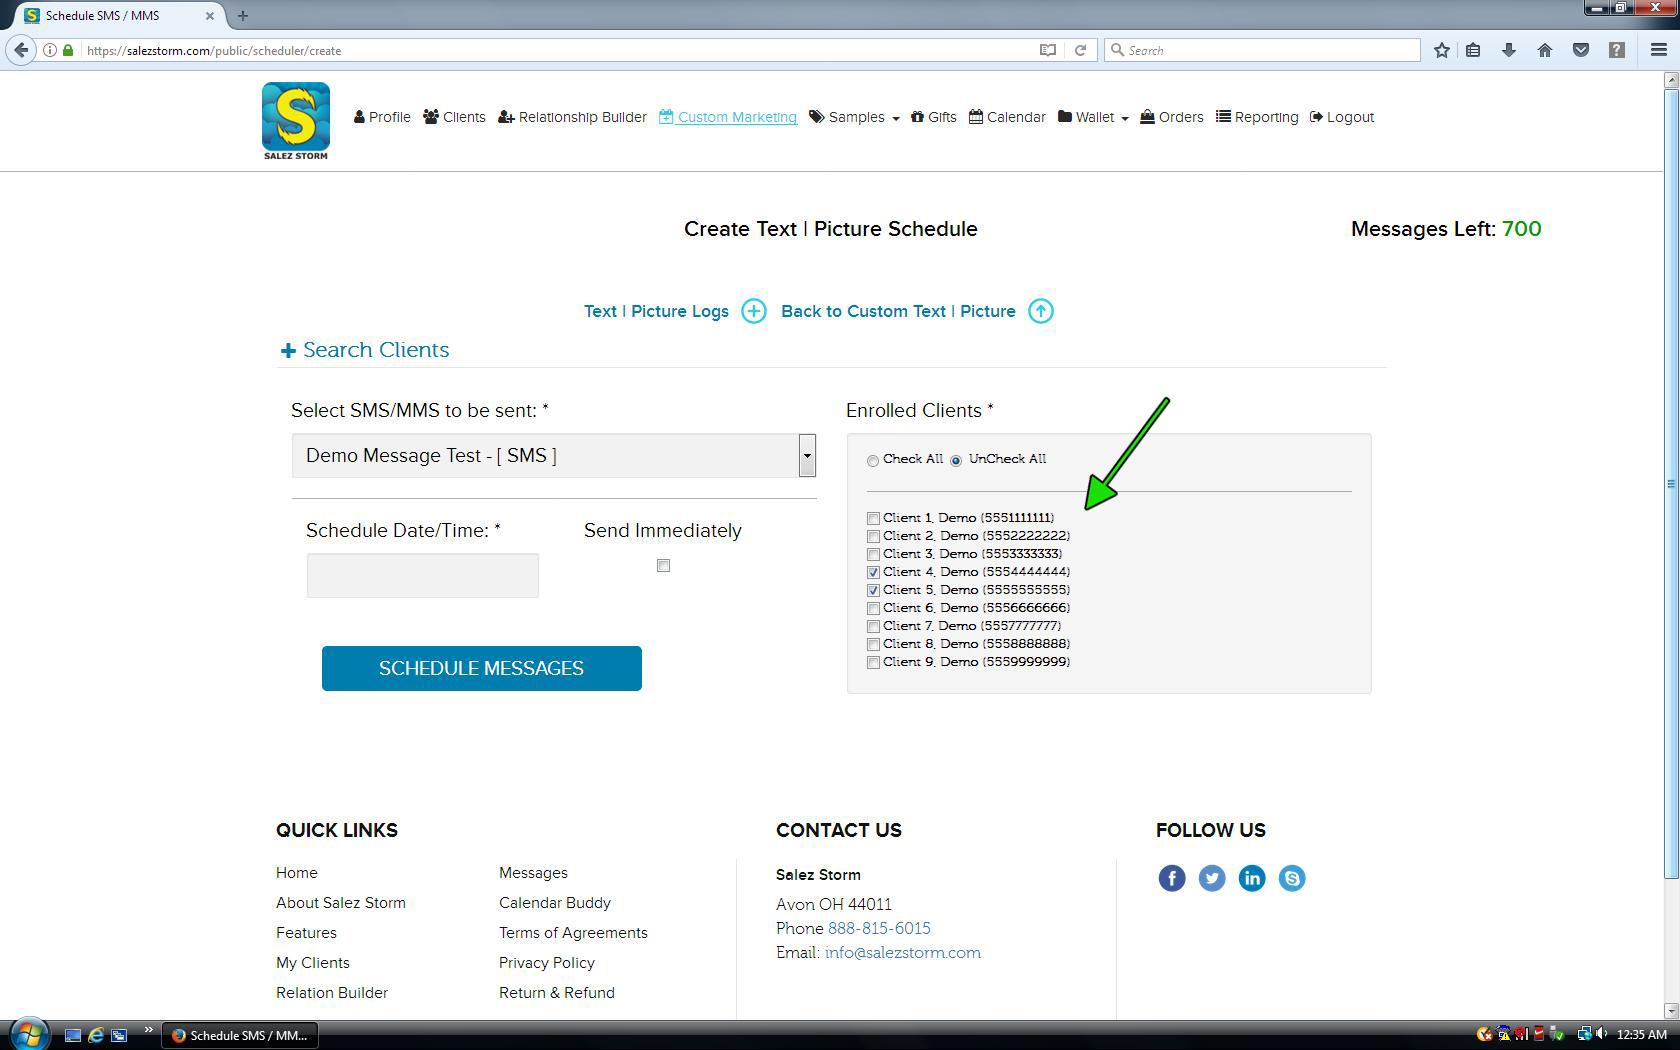
5) Select the Clients to Send it To
On the right side of the screen, select the clients that you would like to have the message sent to. Your clients will need to have already been enrolled in the Relation Builder service (See Tutorial 2). Multiple clients can be selected here. An advance search option is available of the “select SMS/MMS to be sent” field should you need to narrow down the amount of clients in your list.
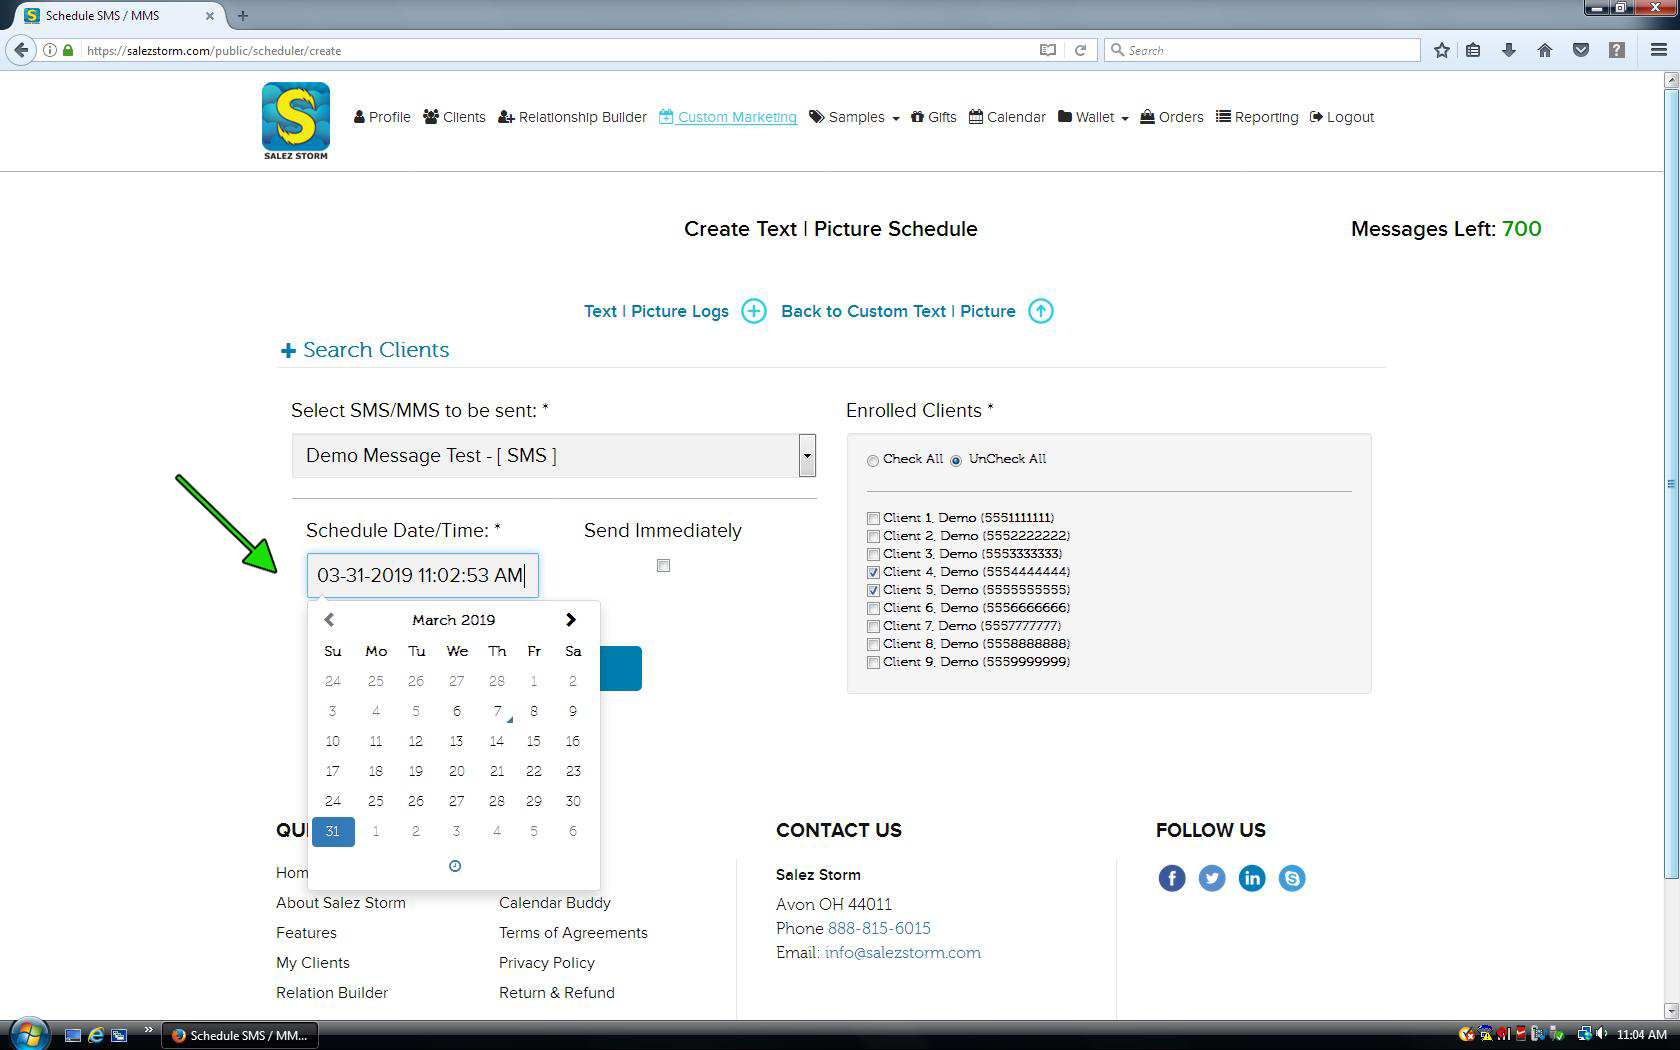
6) Choose When To Send
Choose when you want to sent your message. If you want to send it immediately, check the the “Send Immediately” box. If you would like to schedule it out for a further time, do so using the “Schedule Date/Time” selector to the left. Do not check the “Send Immediately” box.
7) Click Schedule Messages
That’s all! Your message has now been sent, or has been scheduled to be sent at a later time.