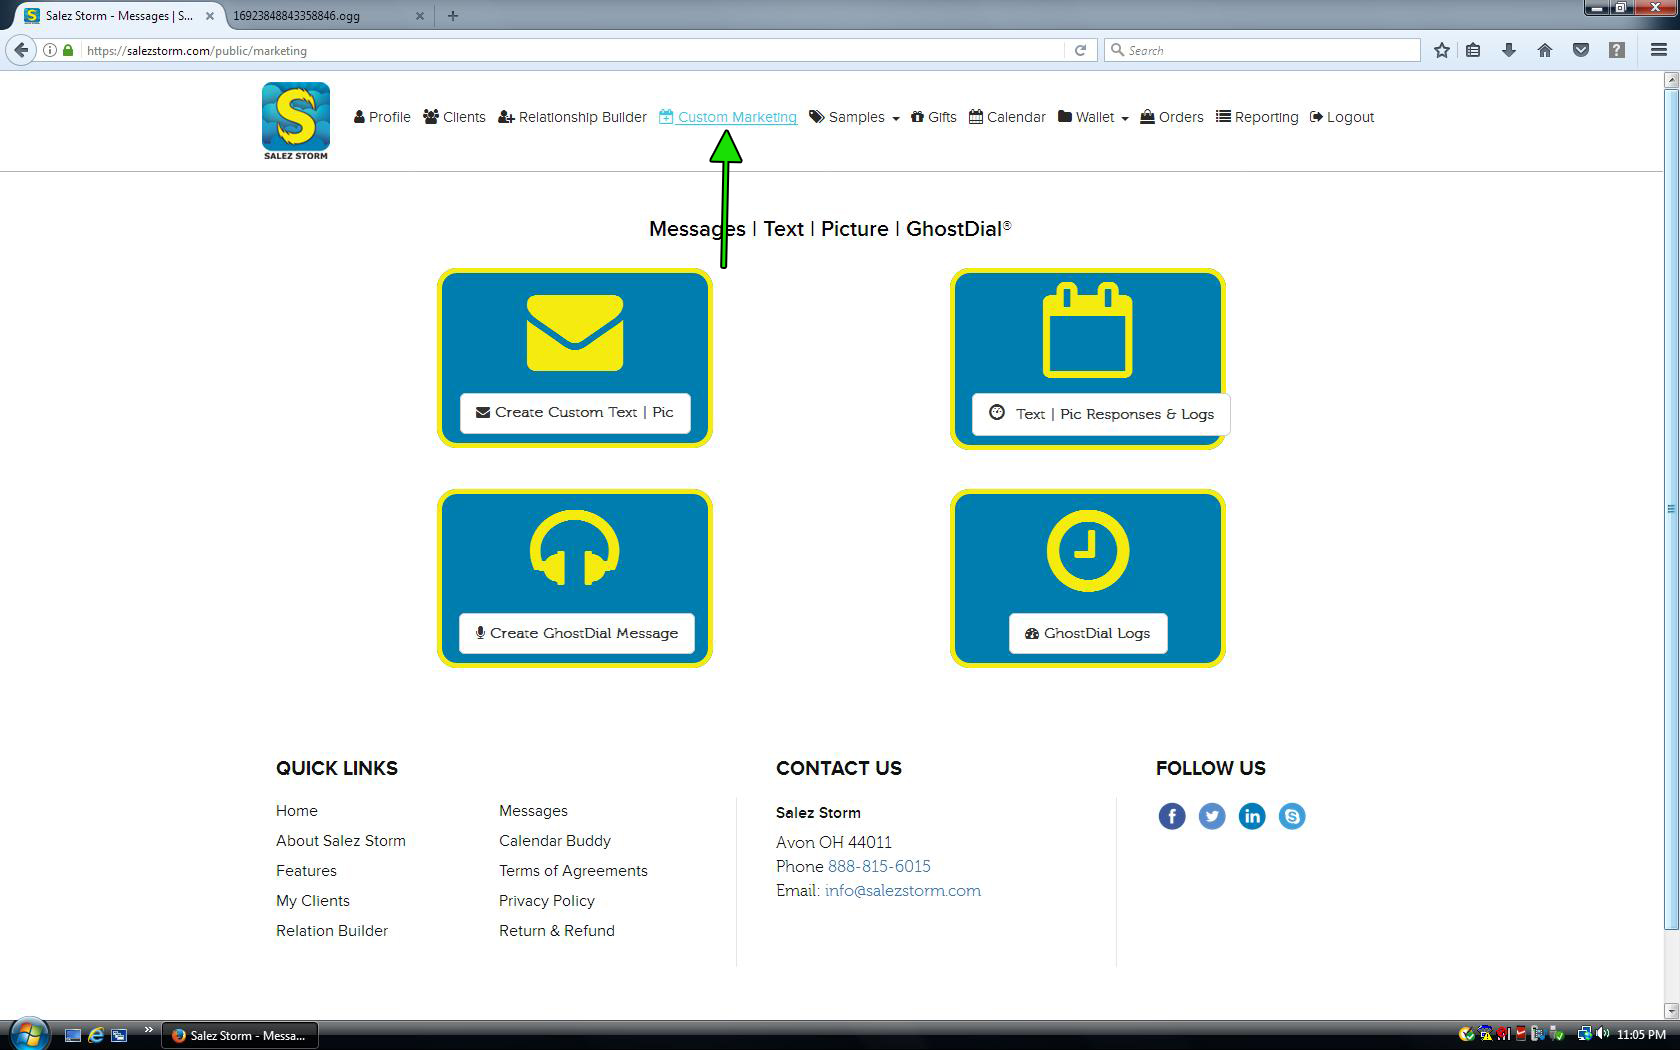
Find the “Custom Marketing” link in the top navigation menu and click it. This will take you to the Custom Marketing page.
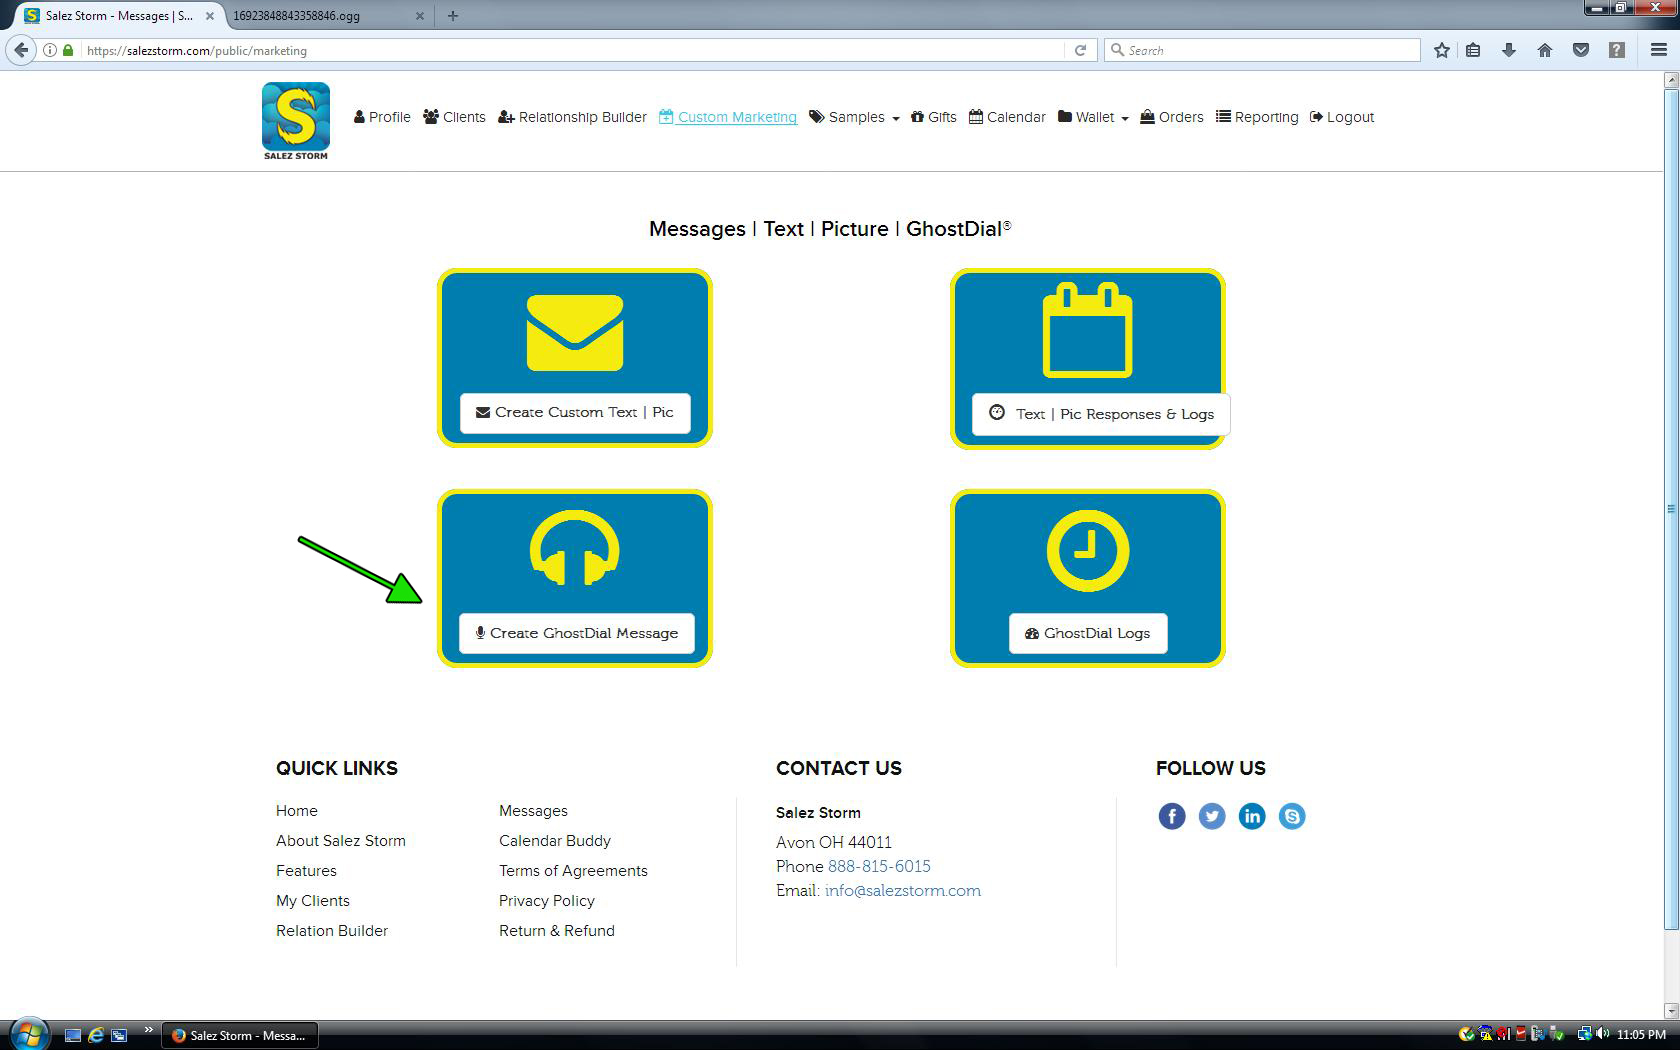
2) Click On Create GhostDial Message
Look for the button titled “Create GhostDial Message” and click it.
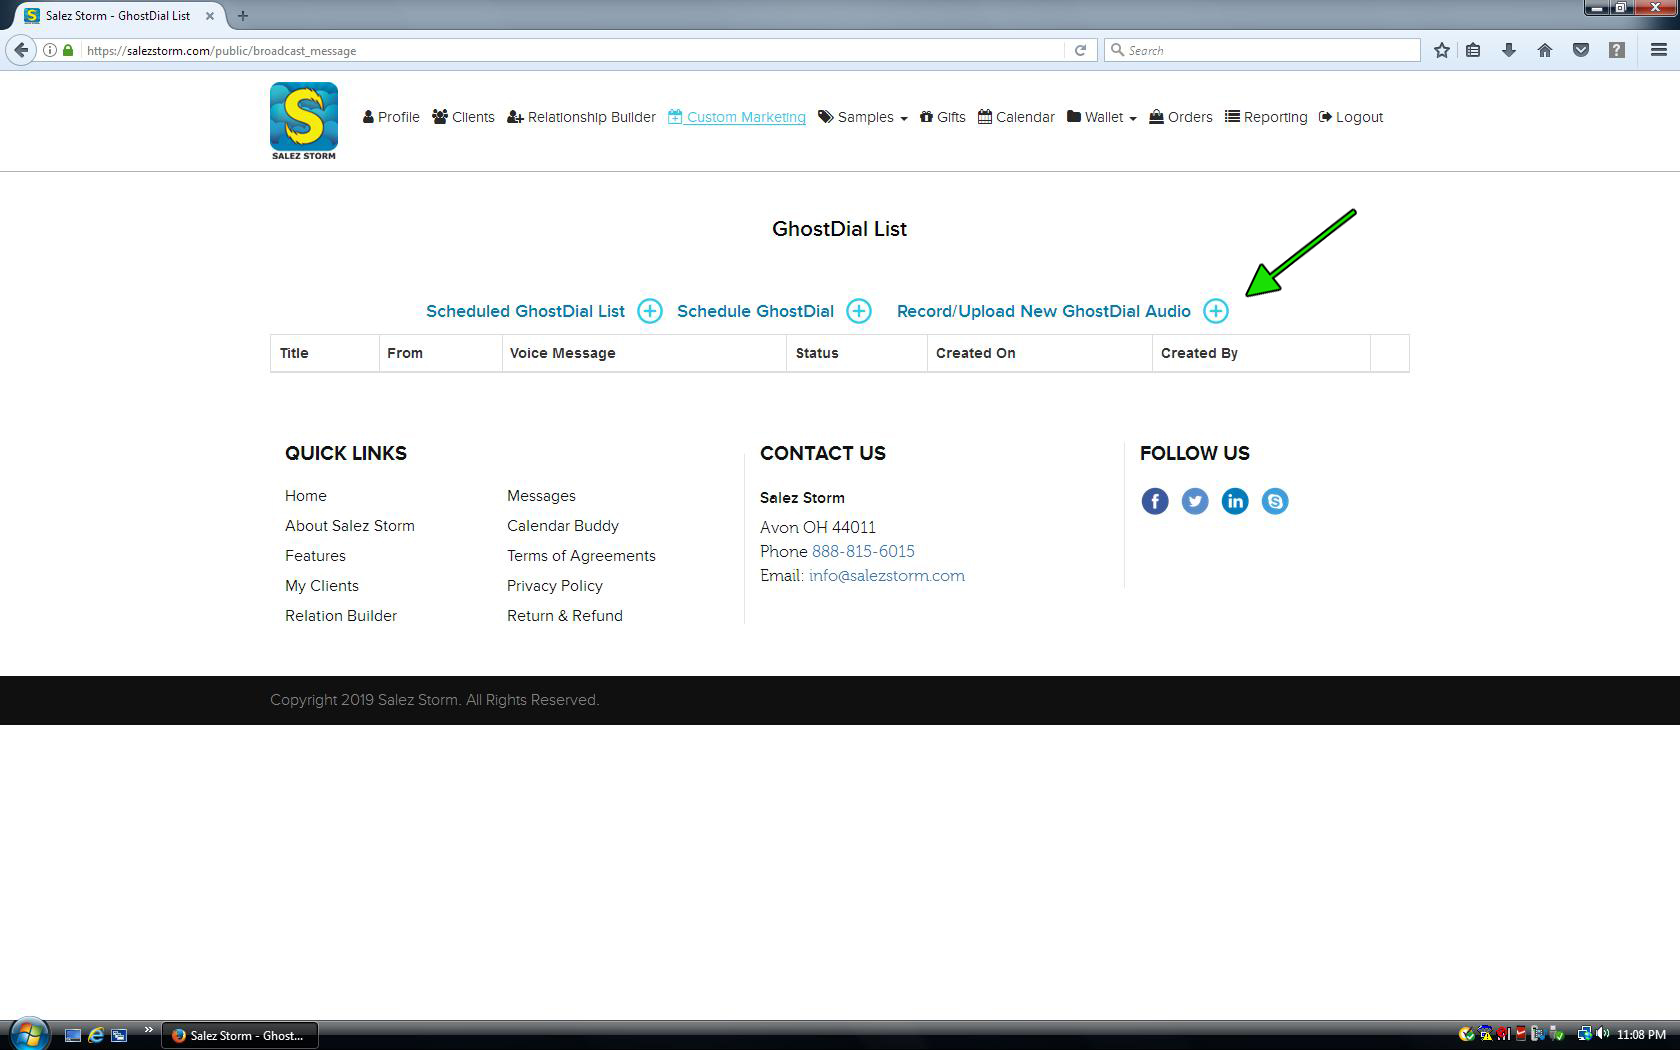
3) Click Record/Upload New GhostDial Audio
Once on this page, you will see a list of all the previously created GhostDial messages. If you do not have any created, none will display as in this image. Locate the button that says “Record/Upload New GhostDial Audio” and click it.
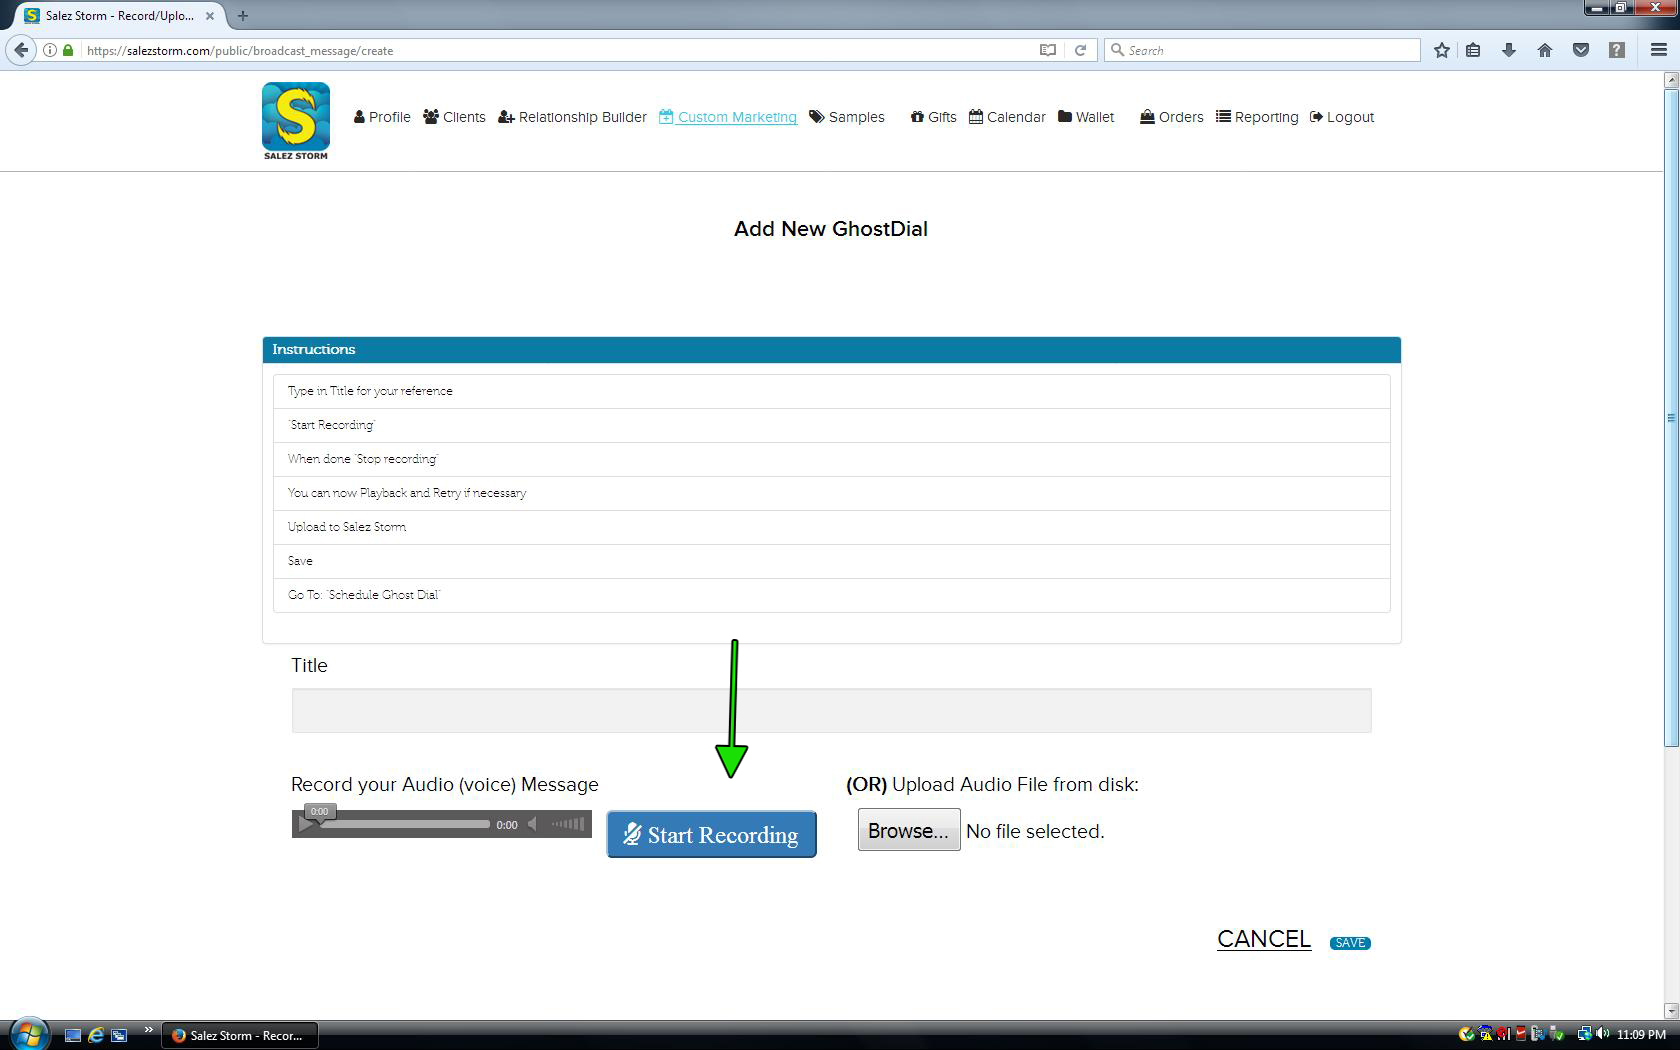
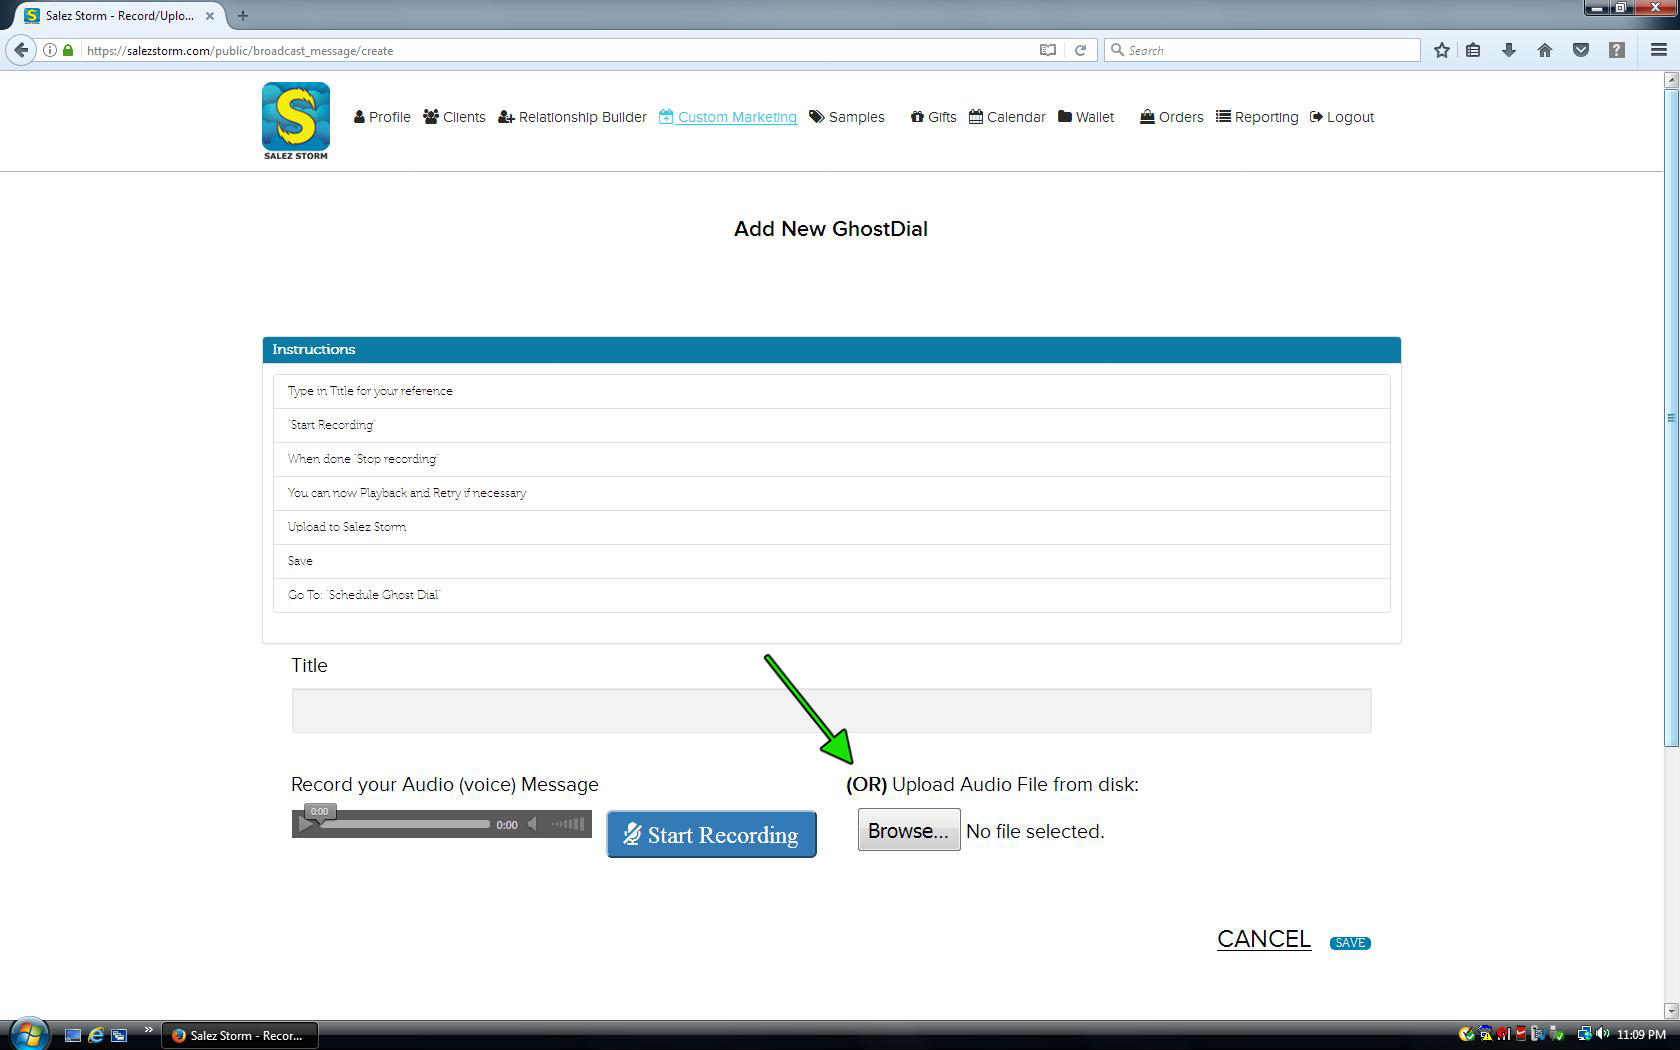
4) Click Start Recording
A GhostDial is a recorded message that goes directly into a voicemail box when you call a client. You will need to record the voice message that you want to send. Click on “Start Recording”. You will need to have a microphone connected in order to record.
In the case that a file is on your hard drive, you do not need to rerecord. Simply find it on your computer by using the Browse button.
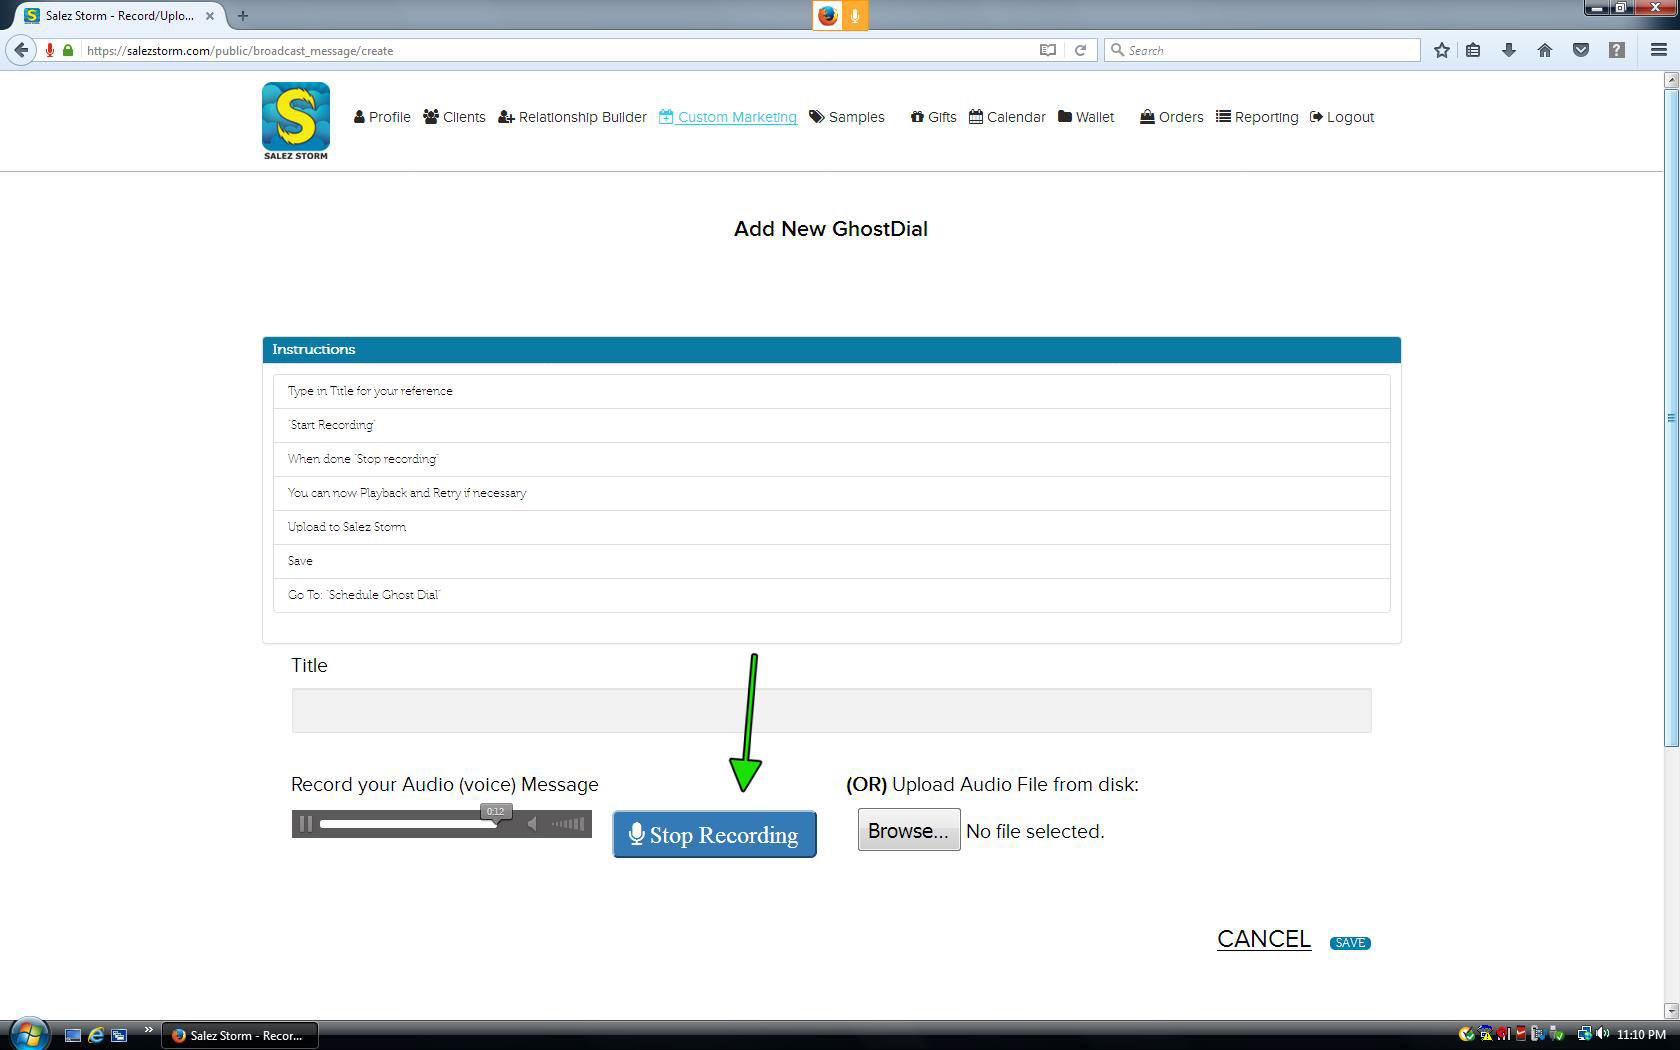
5) Make Sure to Stop Recording
When you are through recording your message, click the “Stop Recording” button.
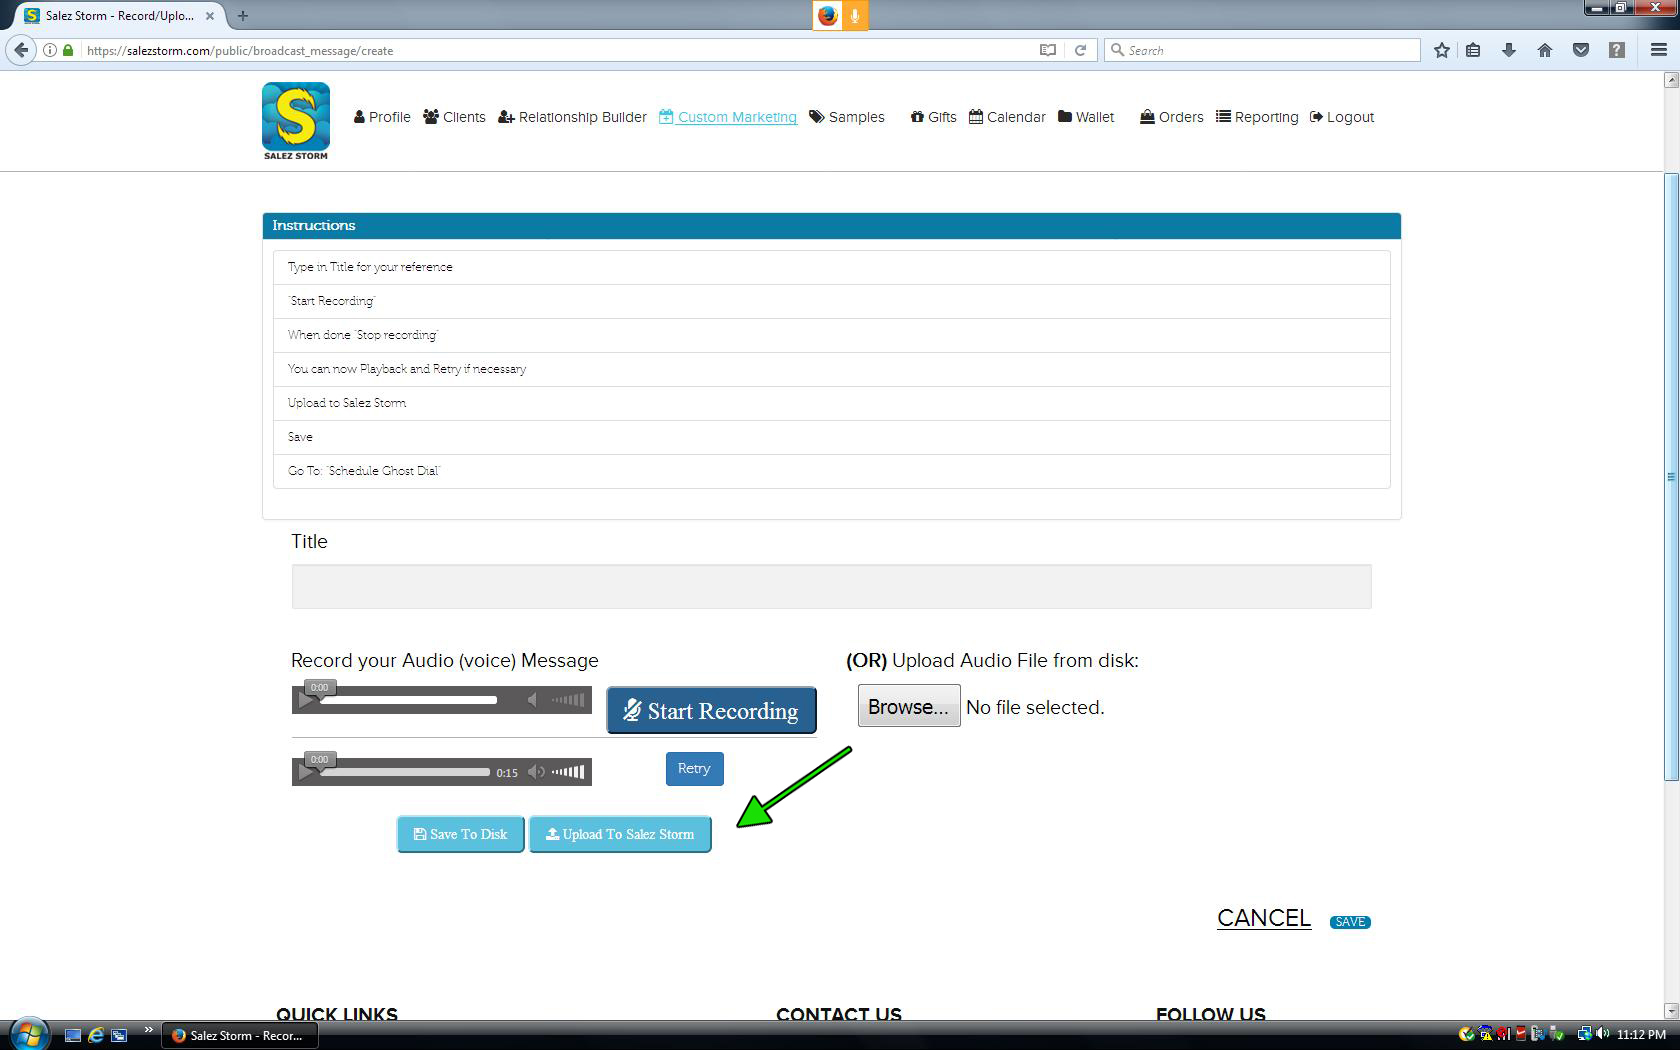
6) Upload Voice Clip to Salez Storm
If you used the audio recorder built into Salez Storm, click on the “upload to Salez Storm” button after you have finished recording. This will take the file and add it to your account for use.
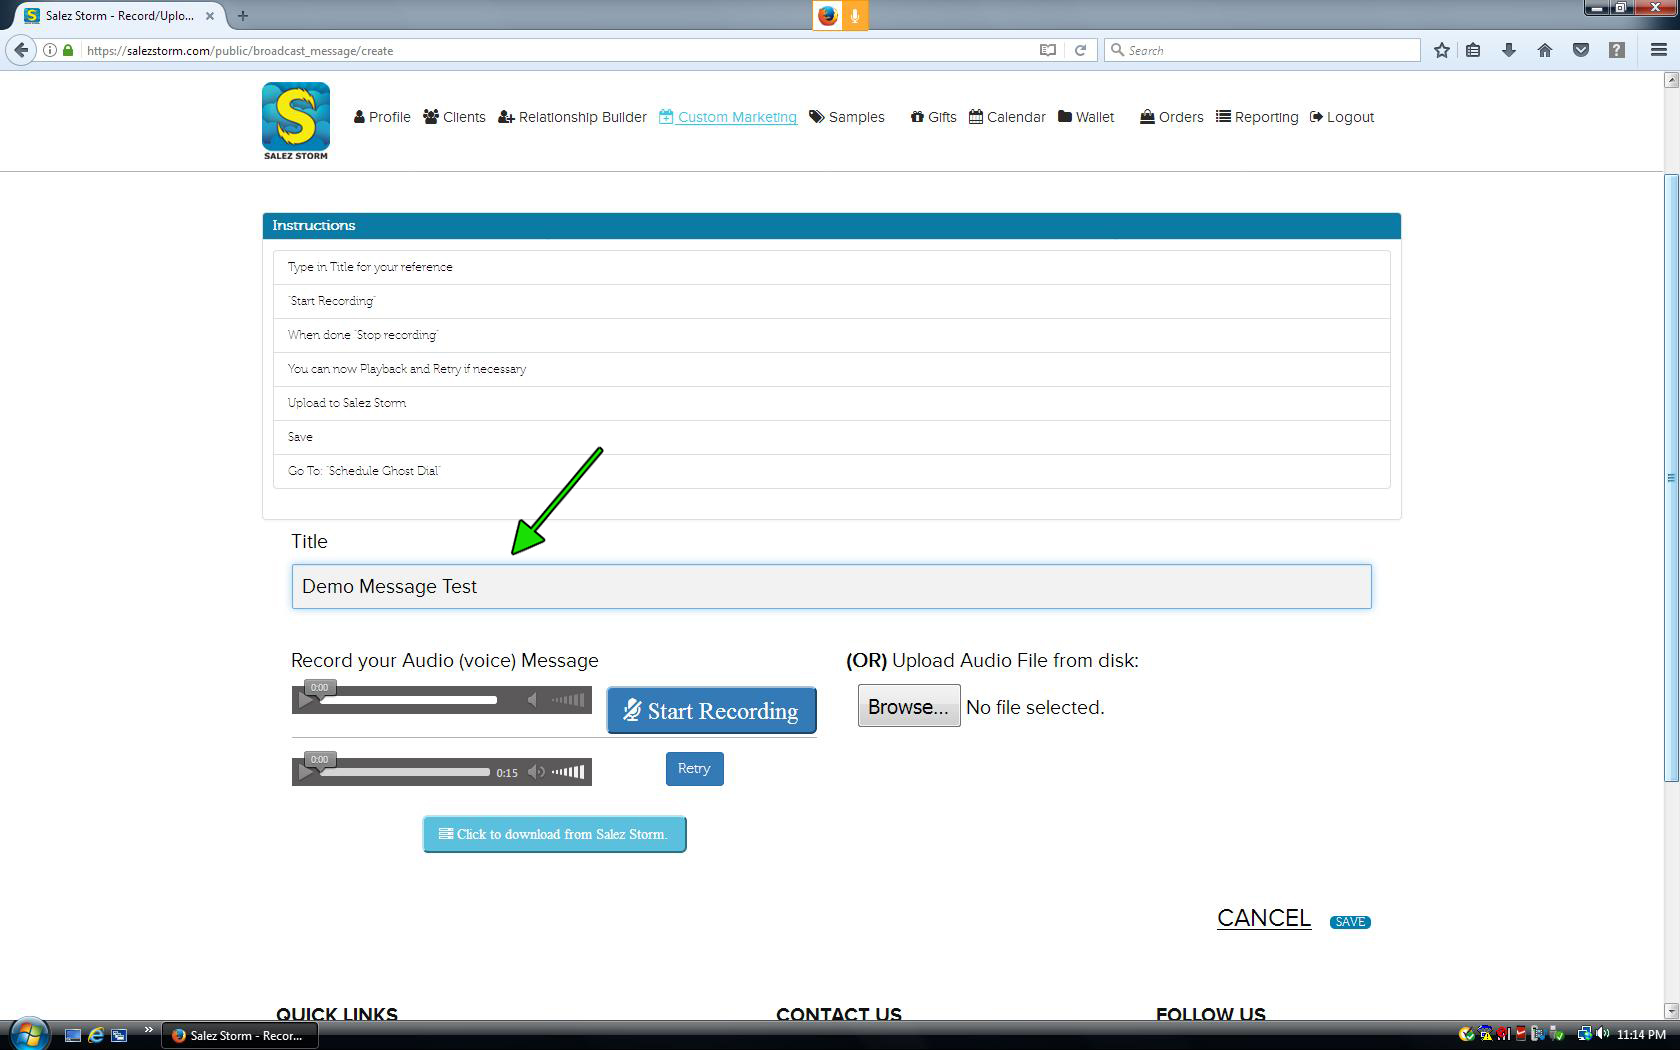
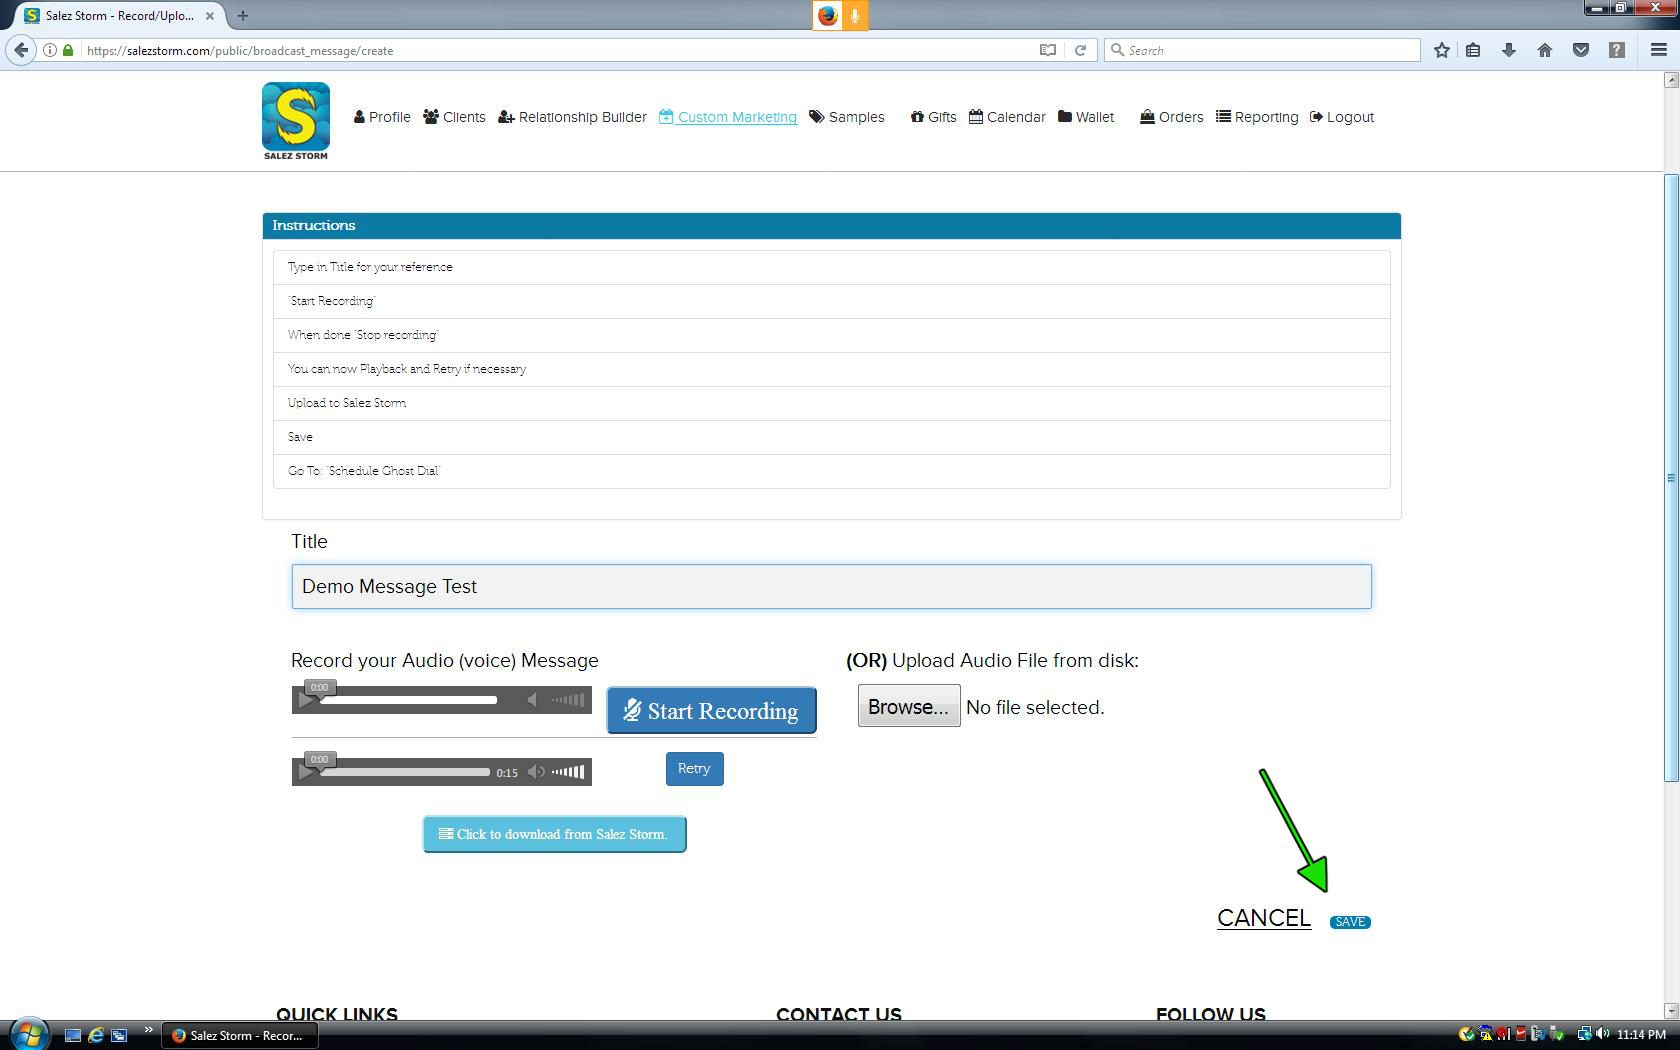
7) Add a Title
In case you haven’t already done so, make sure to add a title to your message. This is for saving purposes and allows you to locate this message for future use at a later time.
8) Click the Save Button
Hit the save button. Your message is now in the Salez Storm GhostDial system and ready for use. See Tutorial 6 on how to schedule a message to be sent.